Instant Snow Instructions, Games & Activities
Instant Snow Activities Video
How to Make Instant Snow & Snowballs
How to Clean Up Instant Snow
Instant Snow Safety
There are a few basic things to consider when using Instant Snow to ensure that everyone has a great time and remains safe.
- Instant Snow is slippery, especially if left in thick piles on the ground.
- Never set up Instant Snow in foot traffic areas and be sure to clean up Instant Snow after use, or set up an exclusion zone around the snow to prevent slips.
- Eye protection is recommended if throwing snow.
- If snow gets in your eyes flush well with water to prevent irritation.
- Eating Instant Snow is unlikely to cause harm but should not be encouraged.
Instant Snow Activity Guide
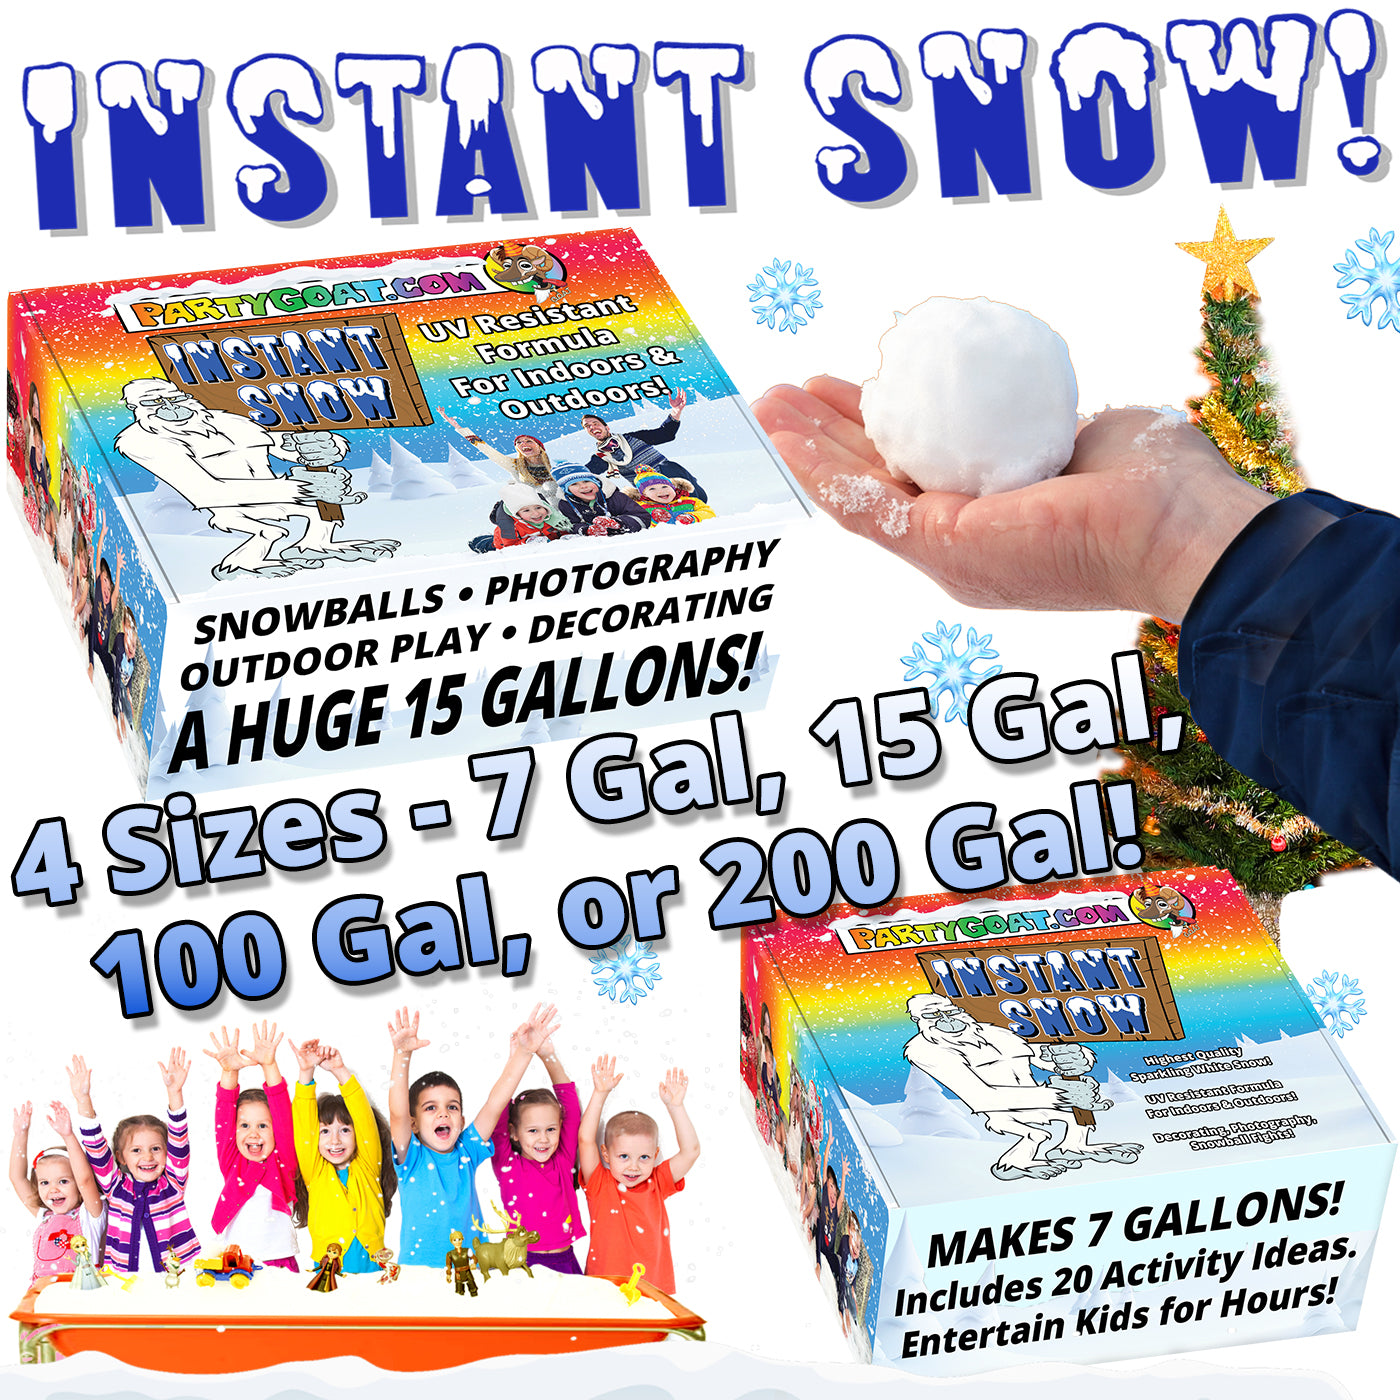
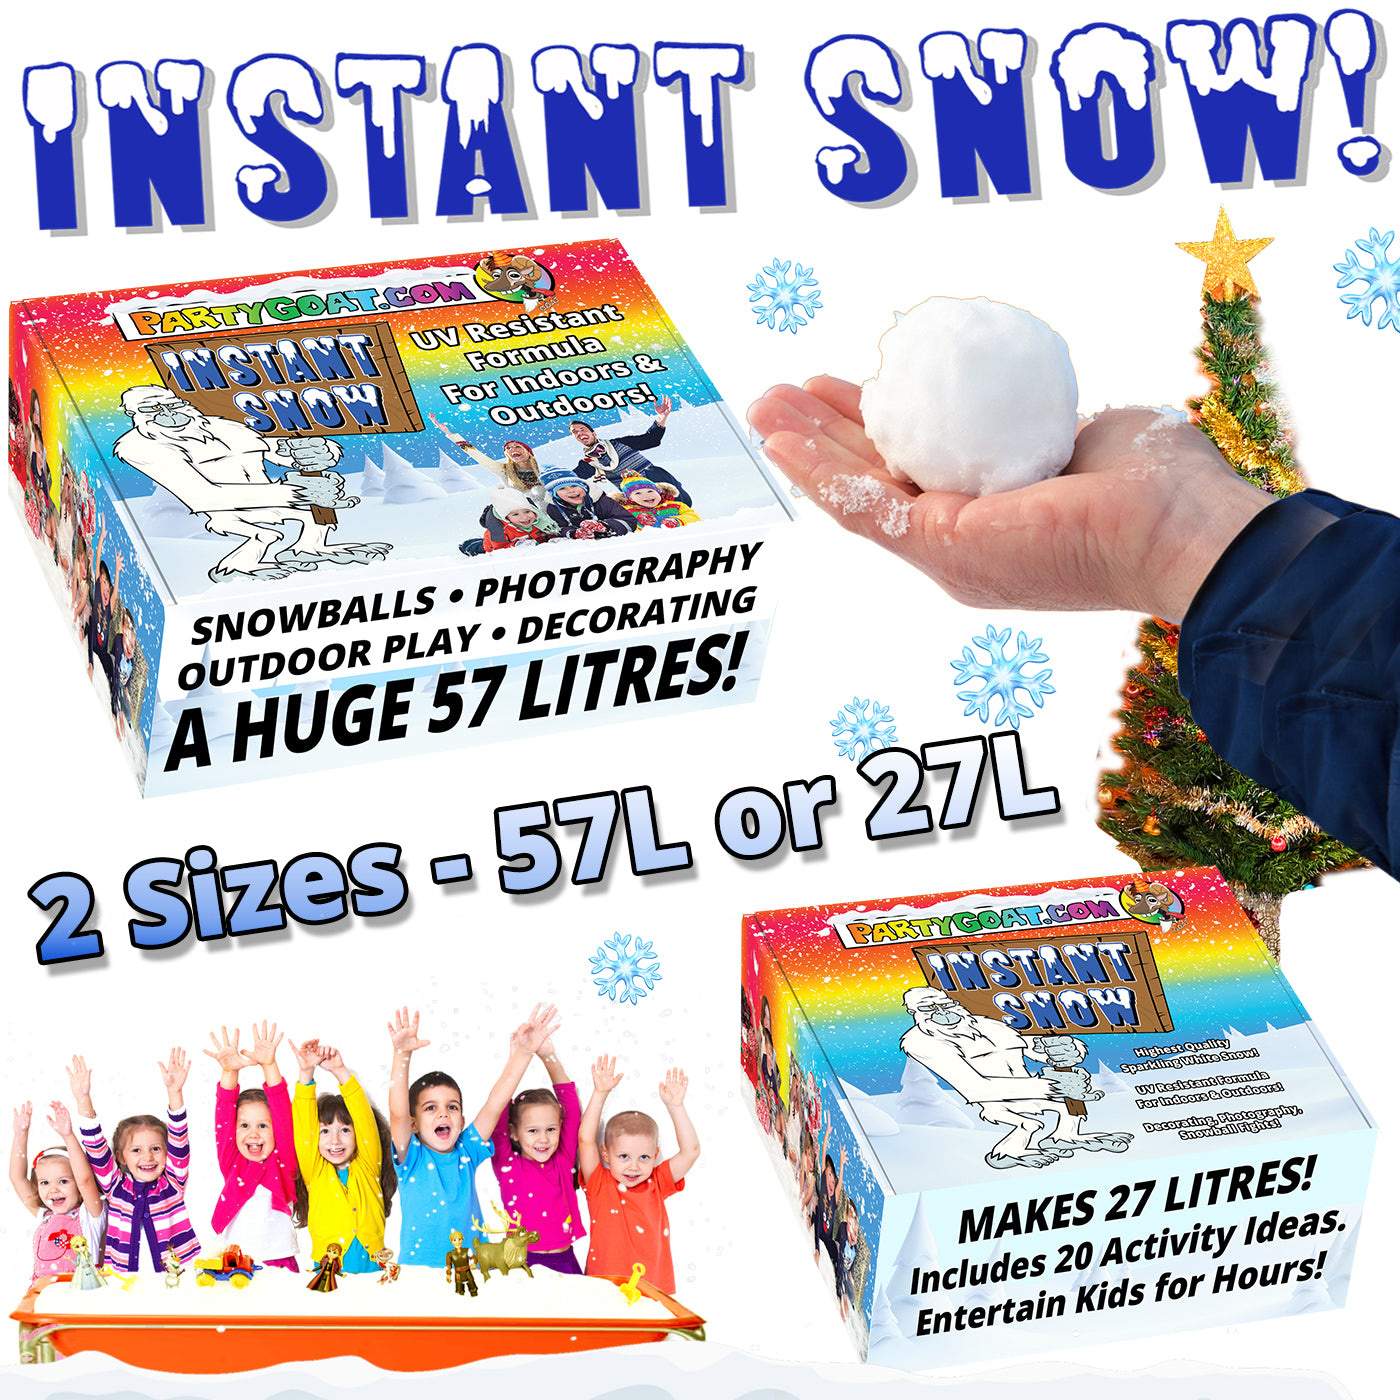
We have put together a huge list of more than 20 activities, science experiments, and games to play with Party GOAT Instant Snow. It's full of teaching tips and fun facts so your kids can learn while having fun! Haven't got your snow yet? Buy Instant Snow here.
PARTY GOAT
INSTANT SNOW POWDER!
Share
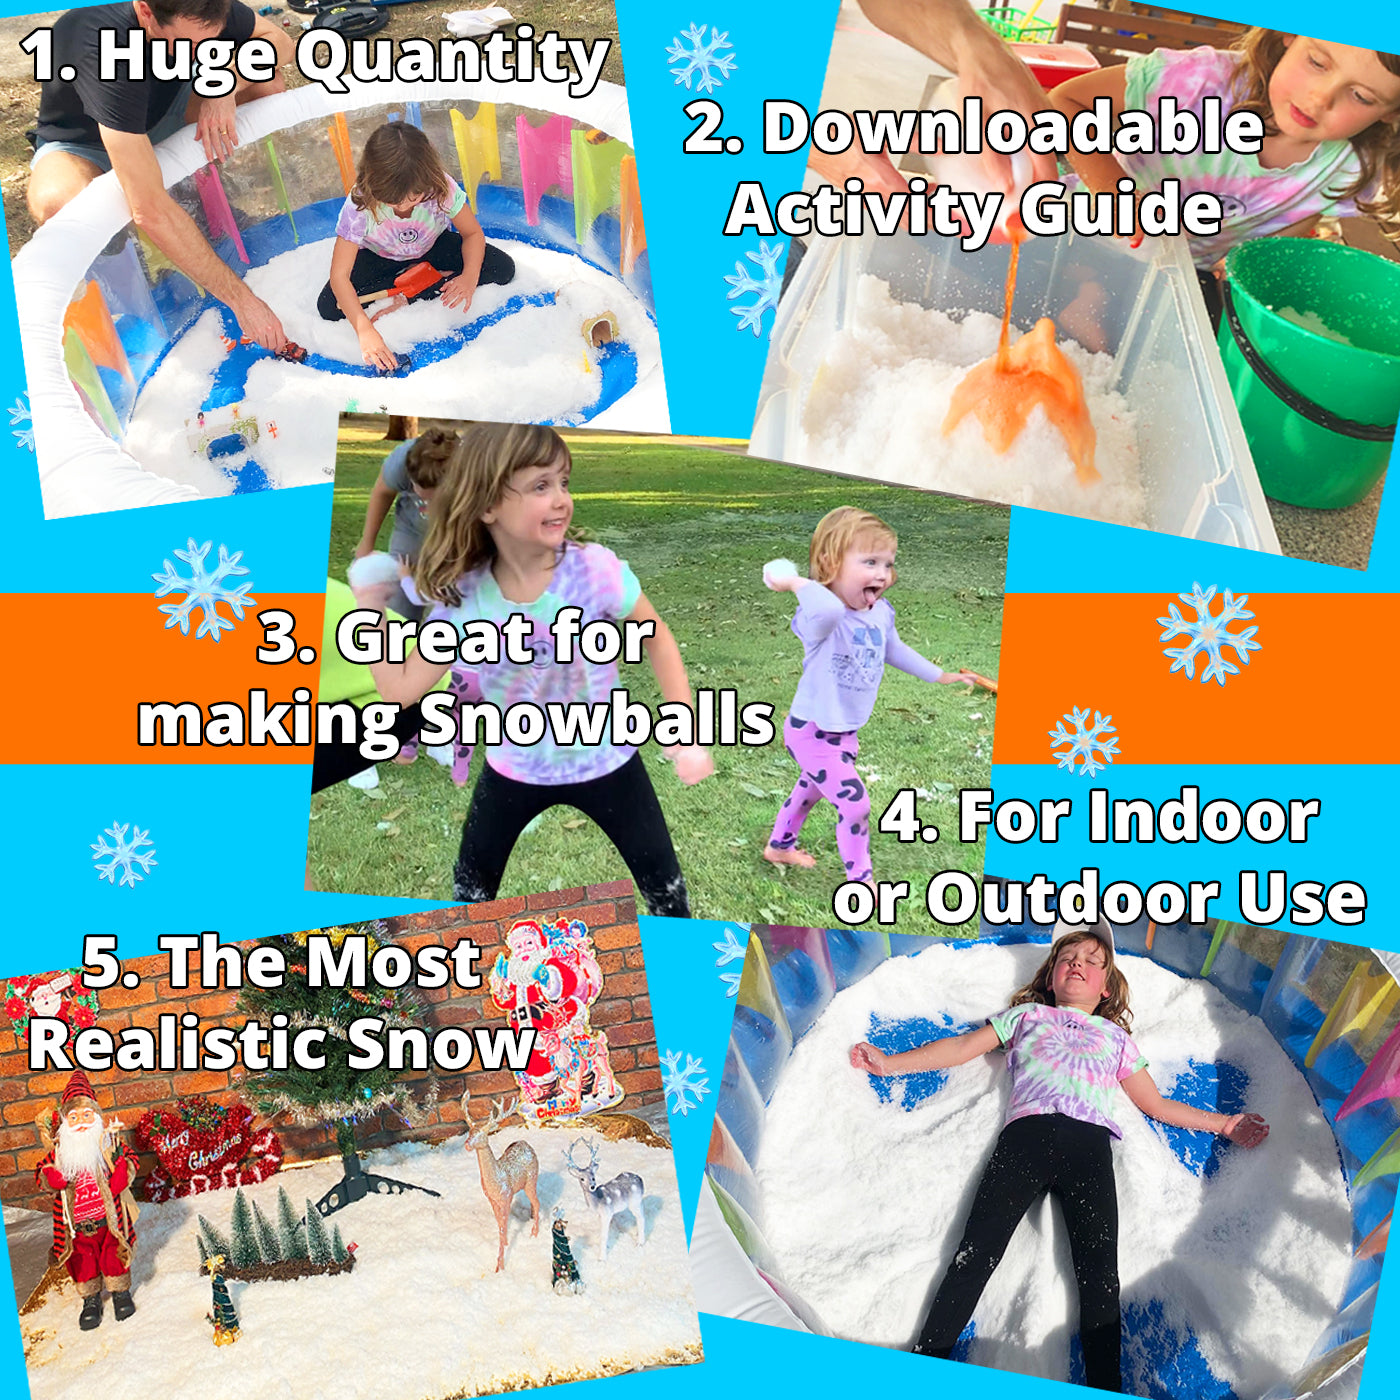
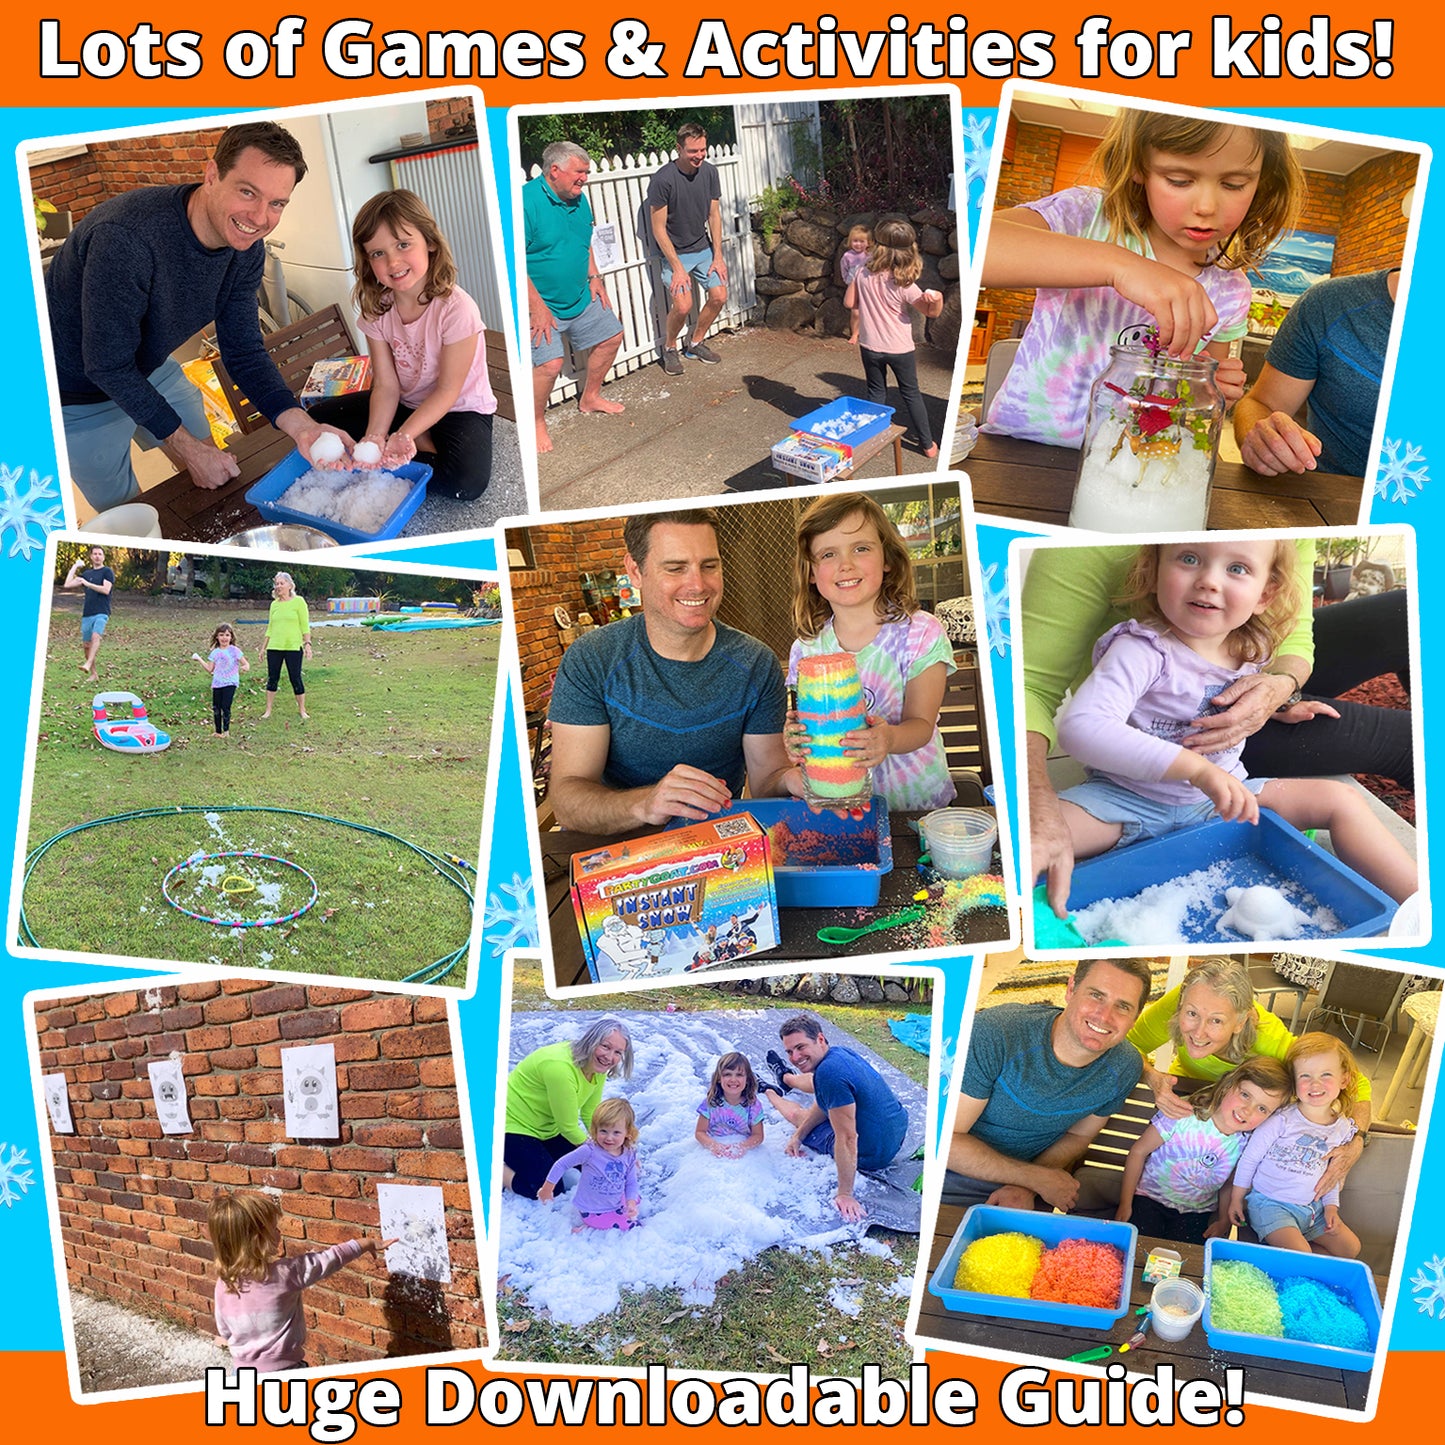
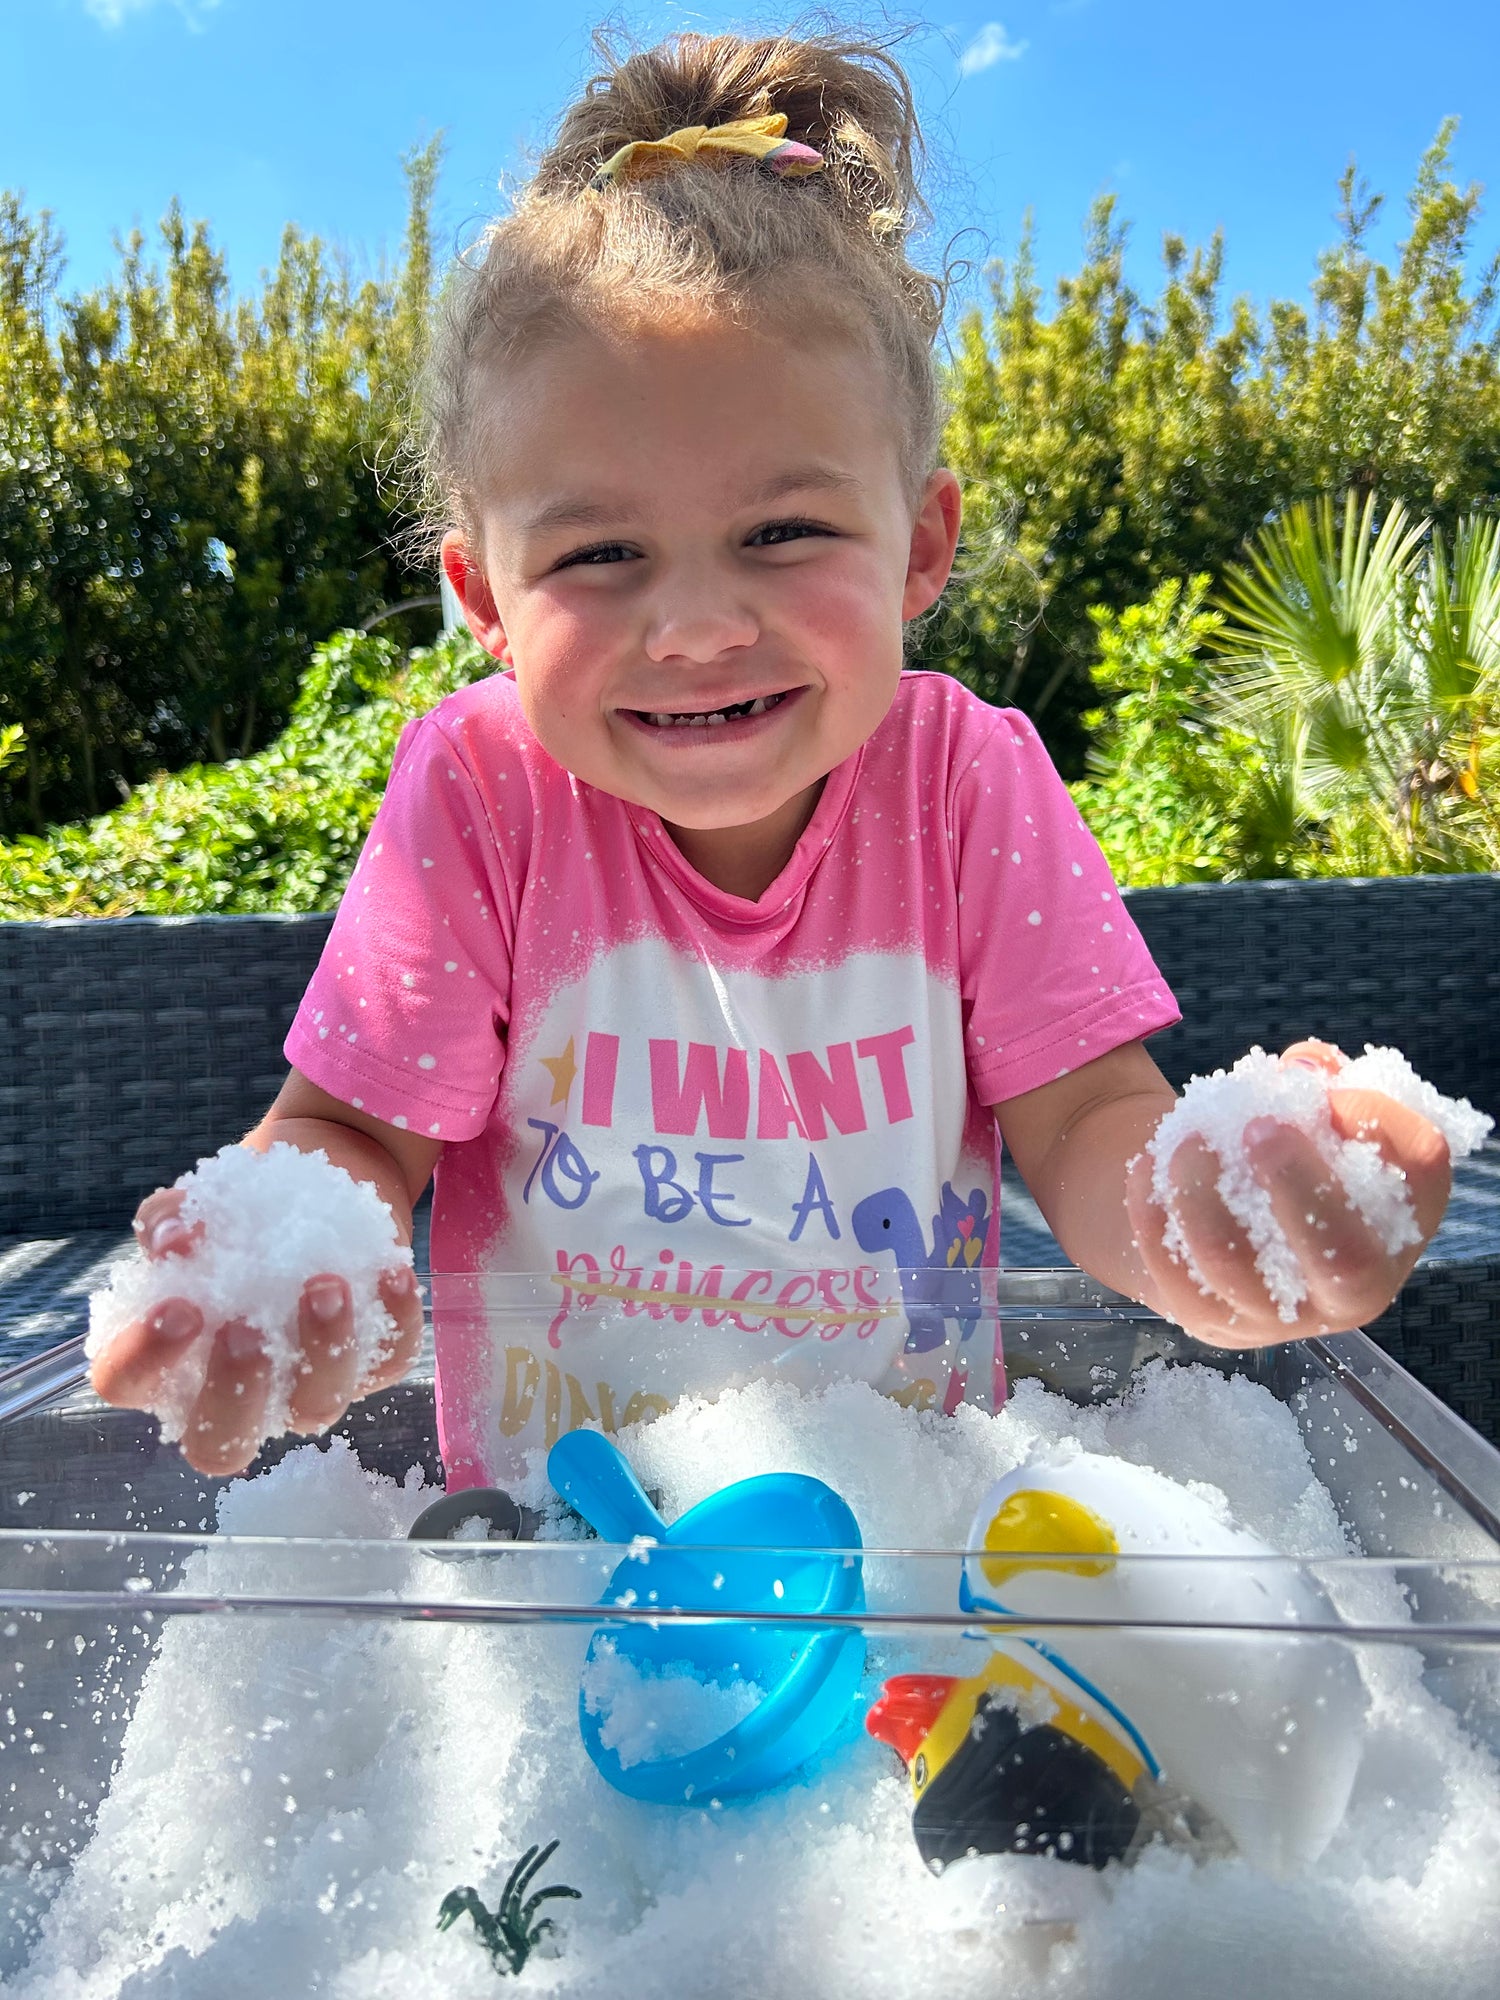
1. Instant Snow Sensory Play:
- Fill a large container or tray with Instant Snow according to the package instructions.
- Allow the children to discover the soft and distinctive characteristics of the Instant Snow using their hands. Encourage them to shape it into different forms and experience its cold sensation.
- Enhance their imaginative play by introducing winter-themed toys such as little snowmen, animal figurines, or Frozen toys. This will enable them to create their own unique snow scenes and stories.
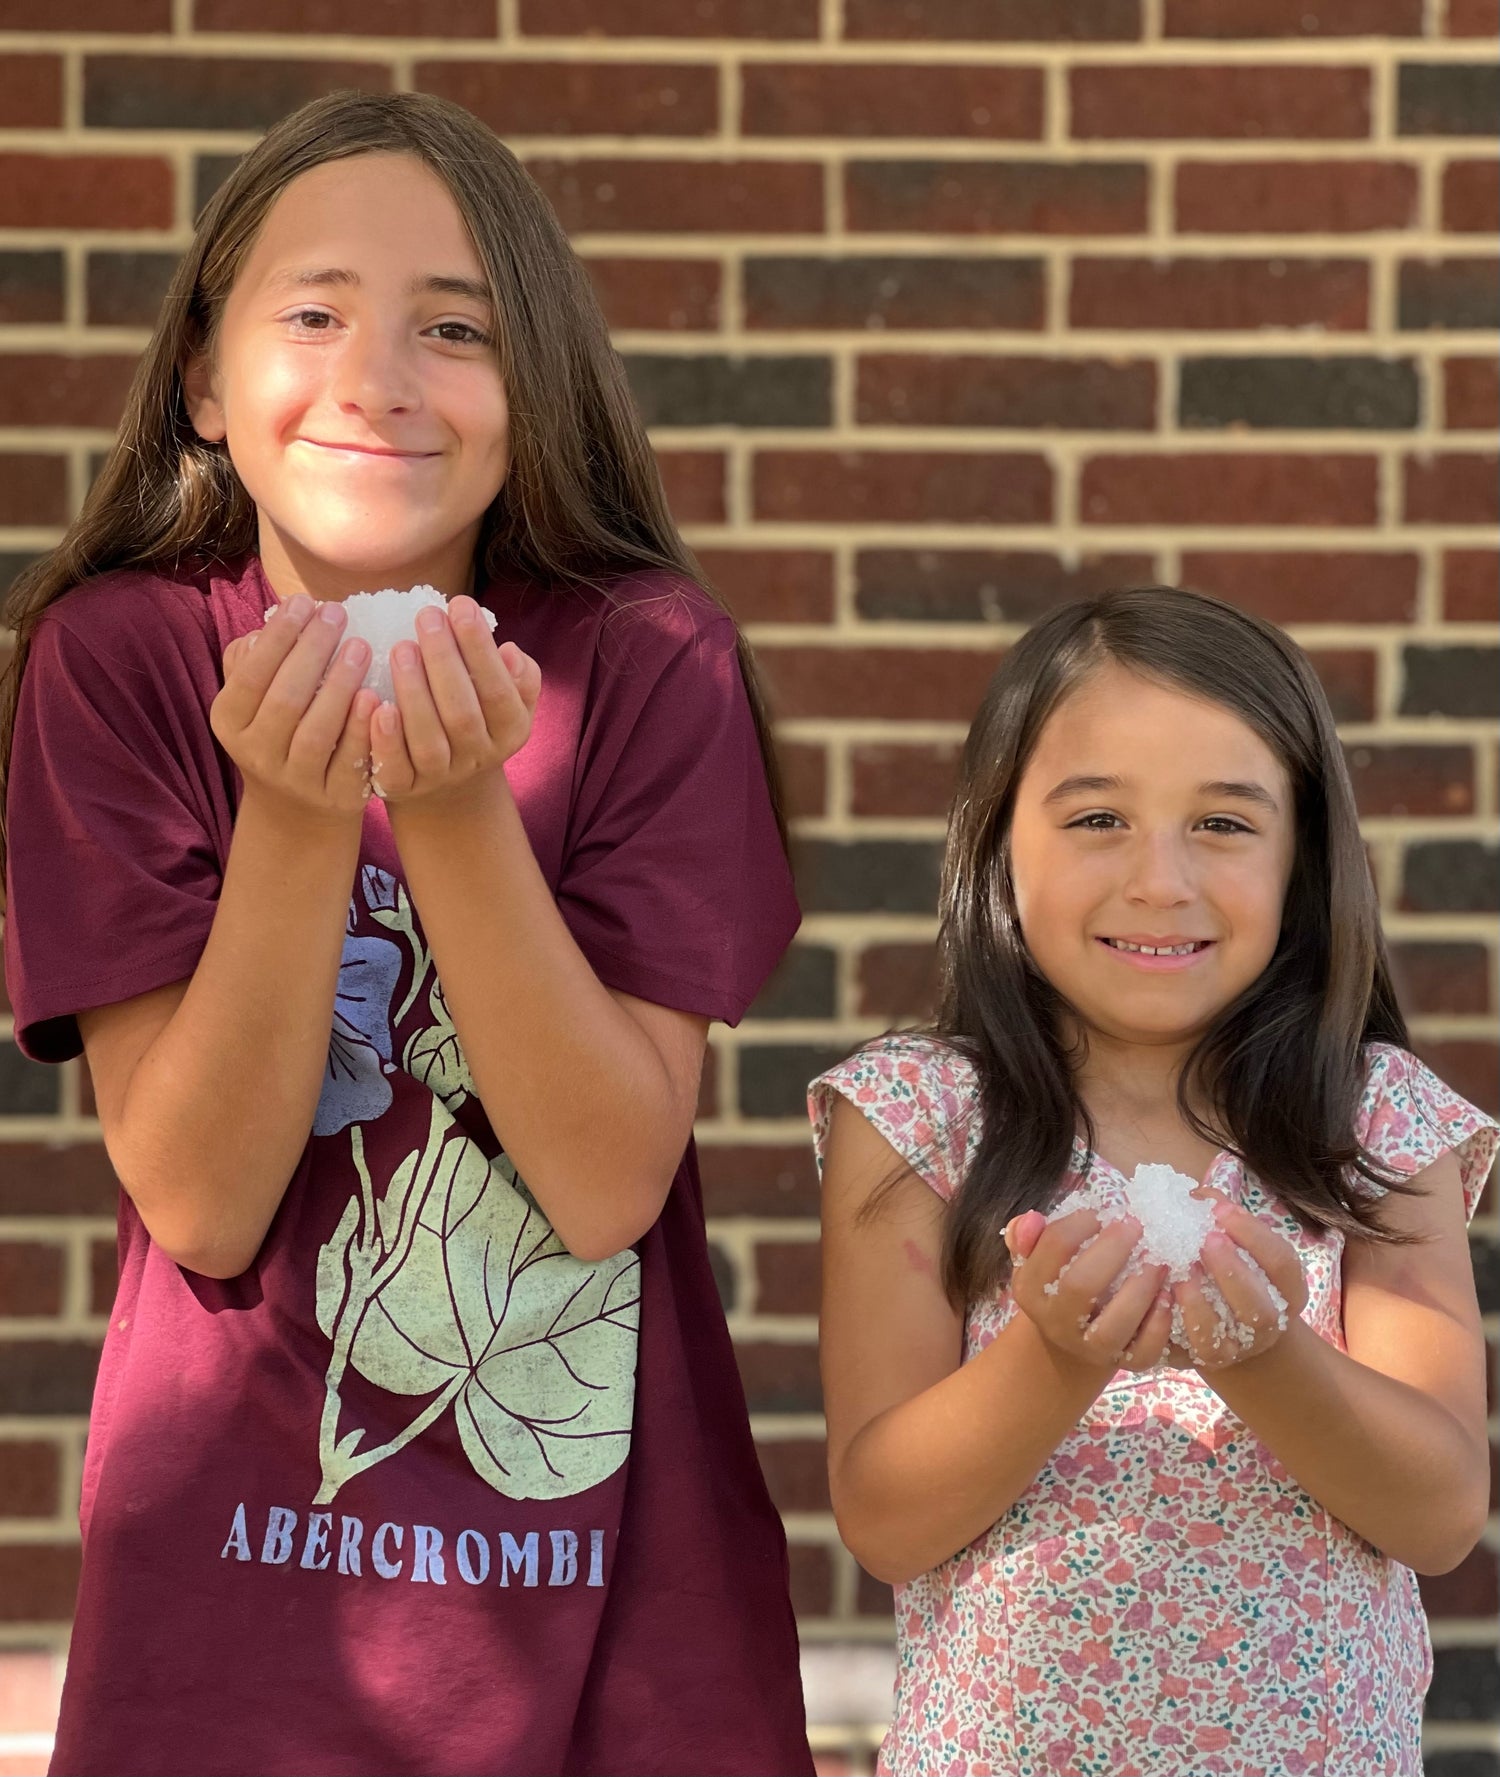
2. Grow Snow in Your Hands:
- Each child should cup their hands together.
- Add a tablespoon of Instant Snow powder into their hands.
- Have someone pour water slowly on top of the powder.
- Watch in amazement as the snow grows and expands in their hands.
- Discuss the science behind the reaction and the absorption properties of potassium polyacrylate (see science guide at the end of the page).

3. Snowball Shotput:
- This is a fun game to teach kids how to throw snowballs without them breaking apart.
- Make snowballs of equal size and weight.
- Mark a starting line and have each child take turns throwing (shot putting) the snowballs as far as they can using a Shotput technique.
- Measure the distances with a tape measure or use pre-marked intervals.
- The child who throws the snowball the farthest wins the shotput contest.
- A fun alternative is to try throwing the snowball using a spinning discuss technique.
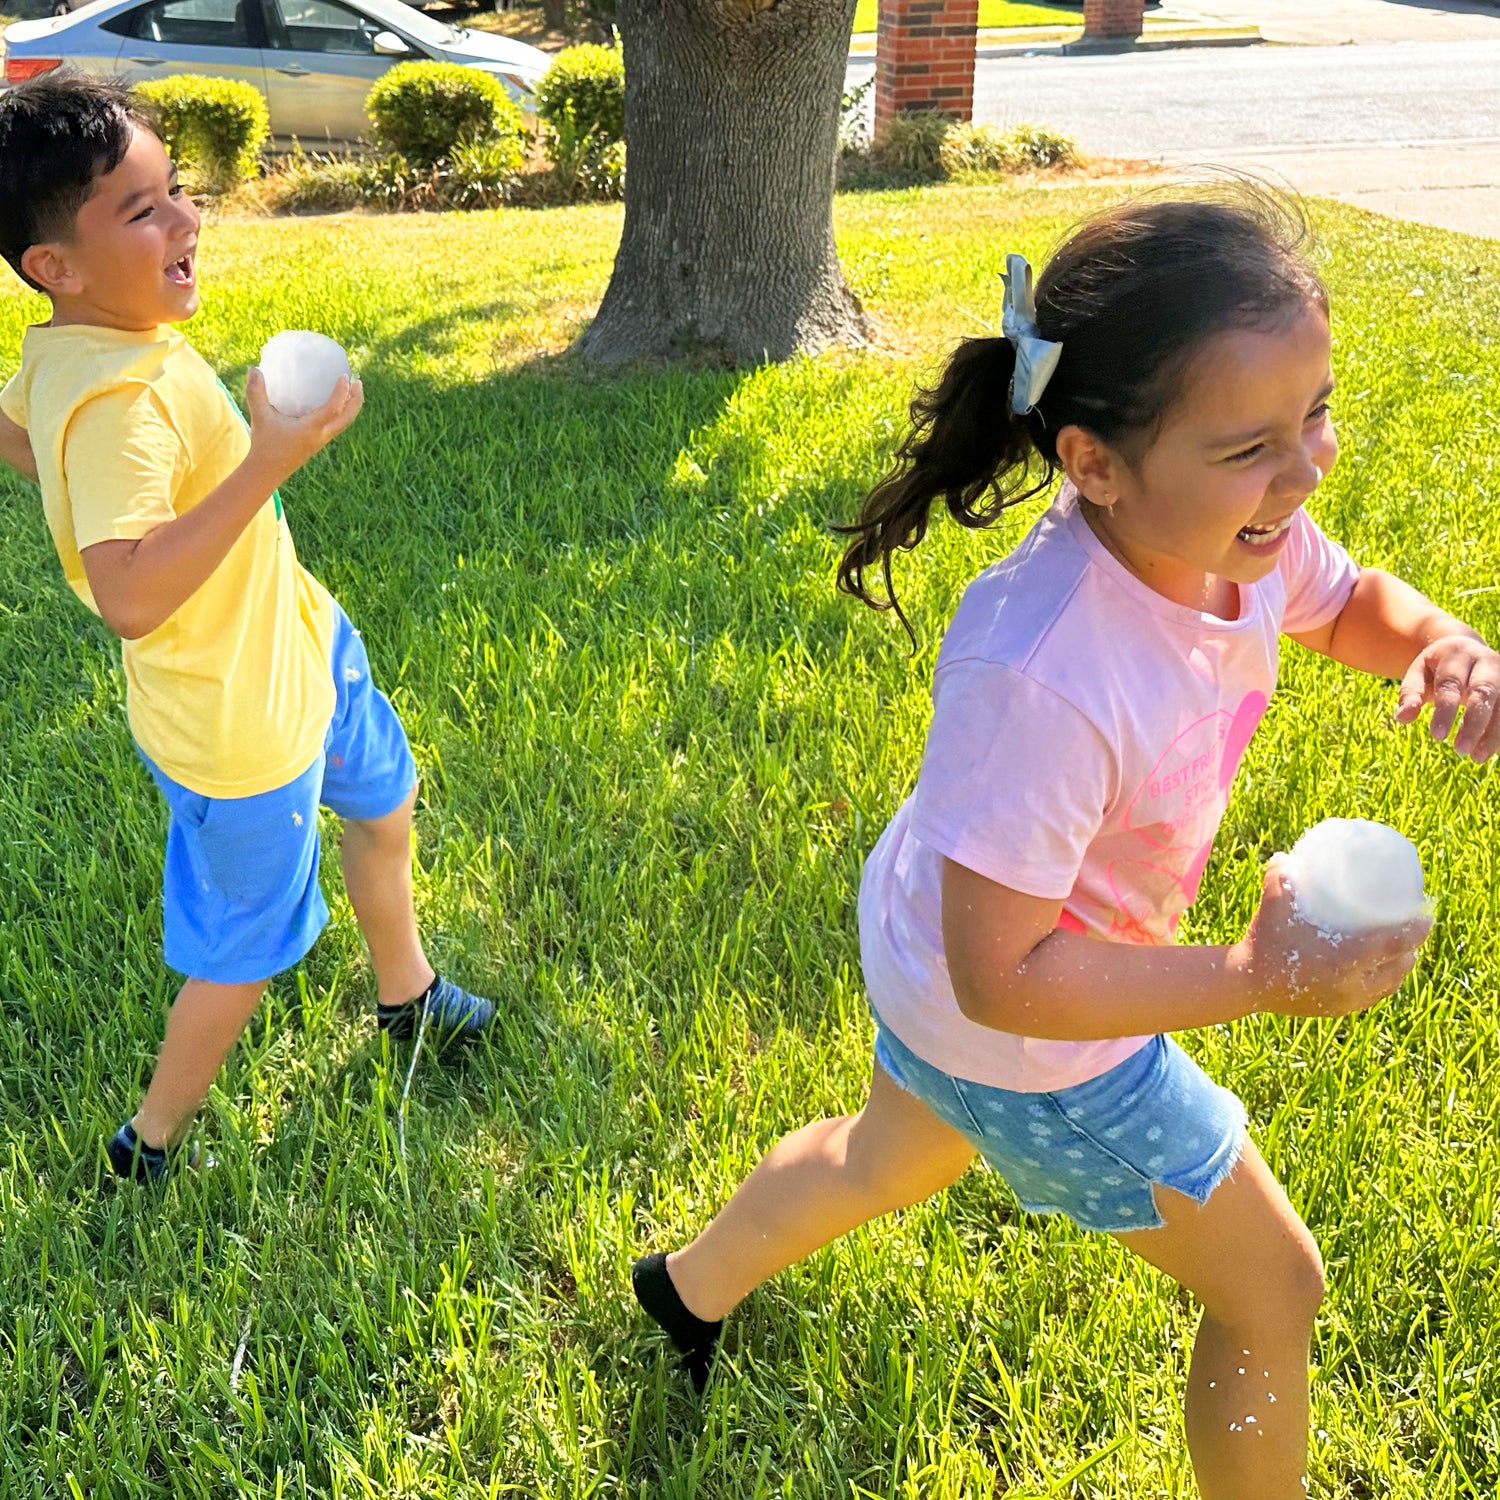
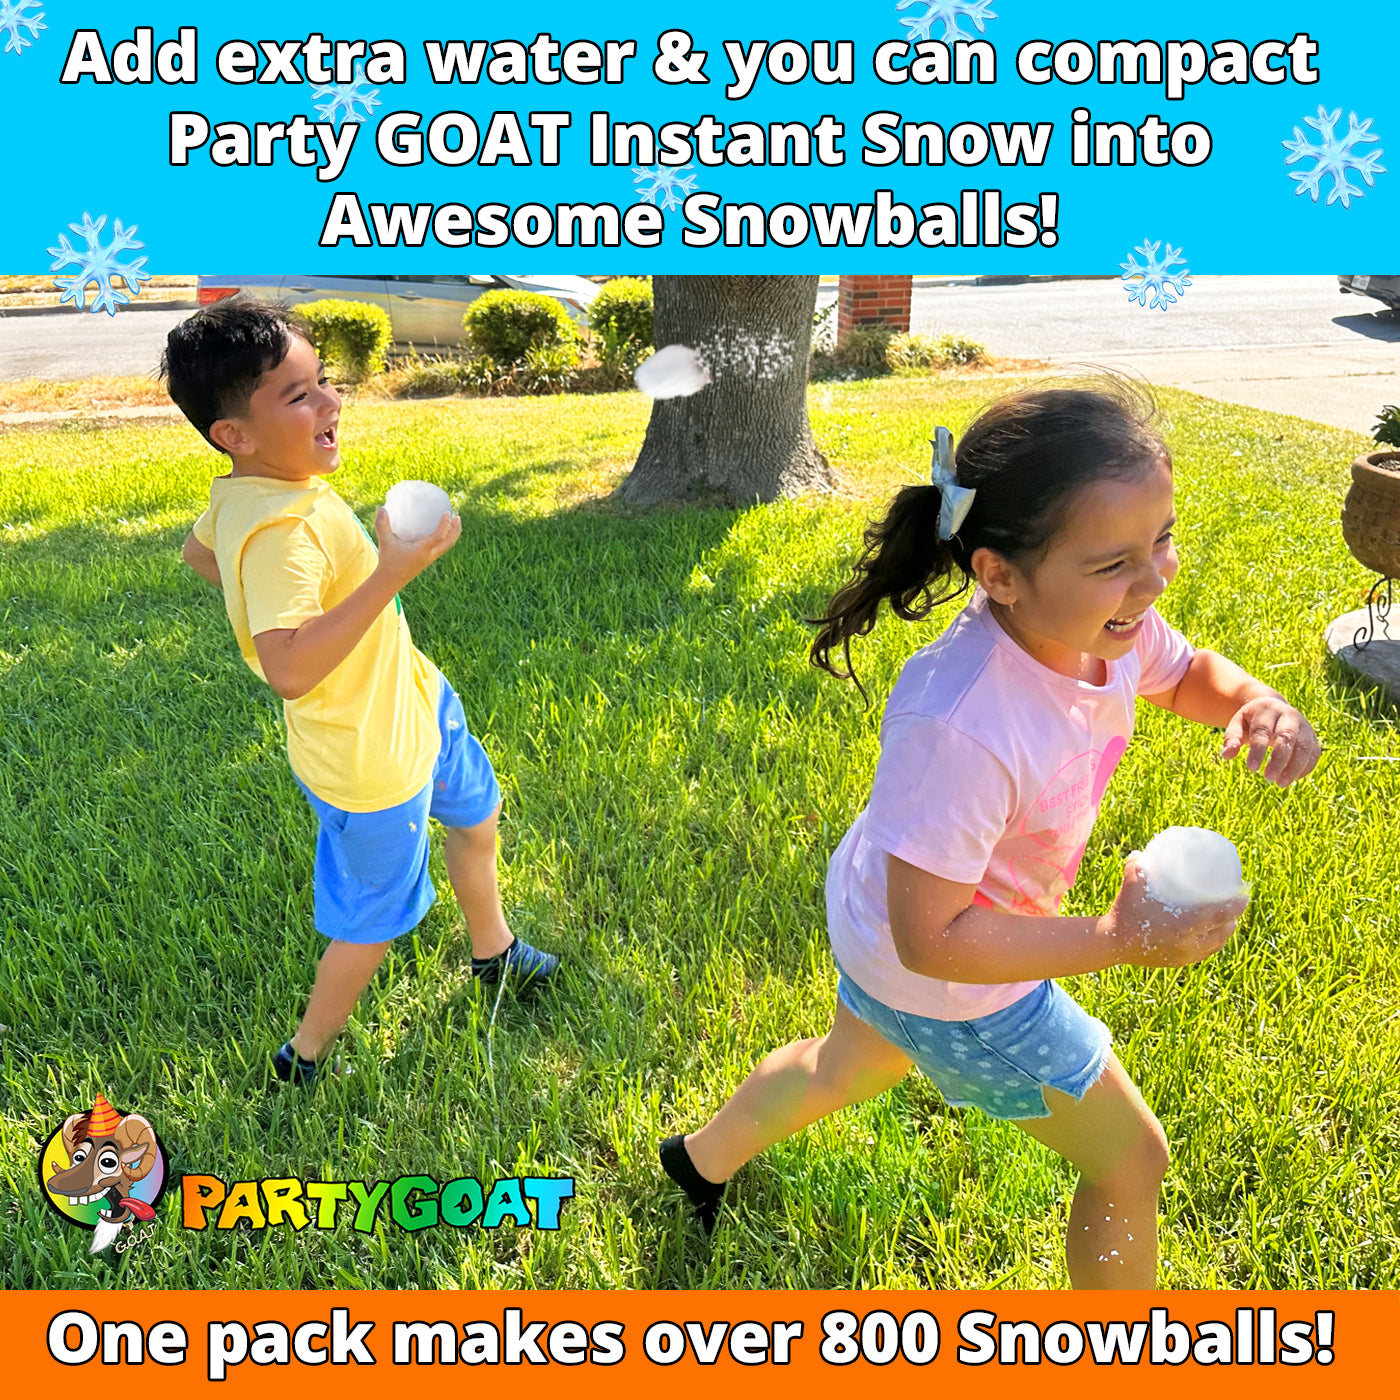
4. Snowball Fight:
- Divide the kids into two teams for a friendly snowball battle.
- Set boundaries for the play area and establish ground rules to ensure safety. We recommend wearing safety googles when throwing snow. Never aim for the face.
- The teams can build forts or use natural cover to strategize and protect themselves during the snowball fight.
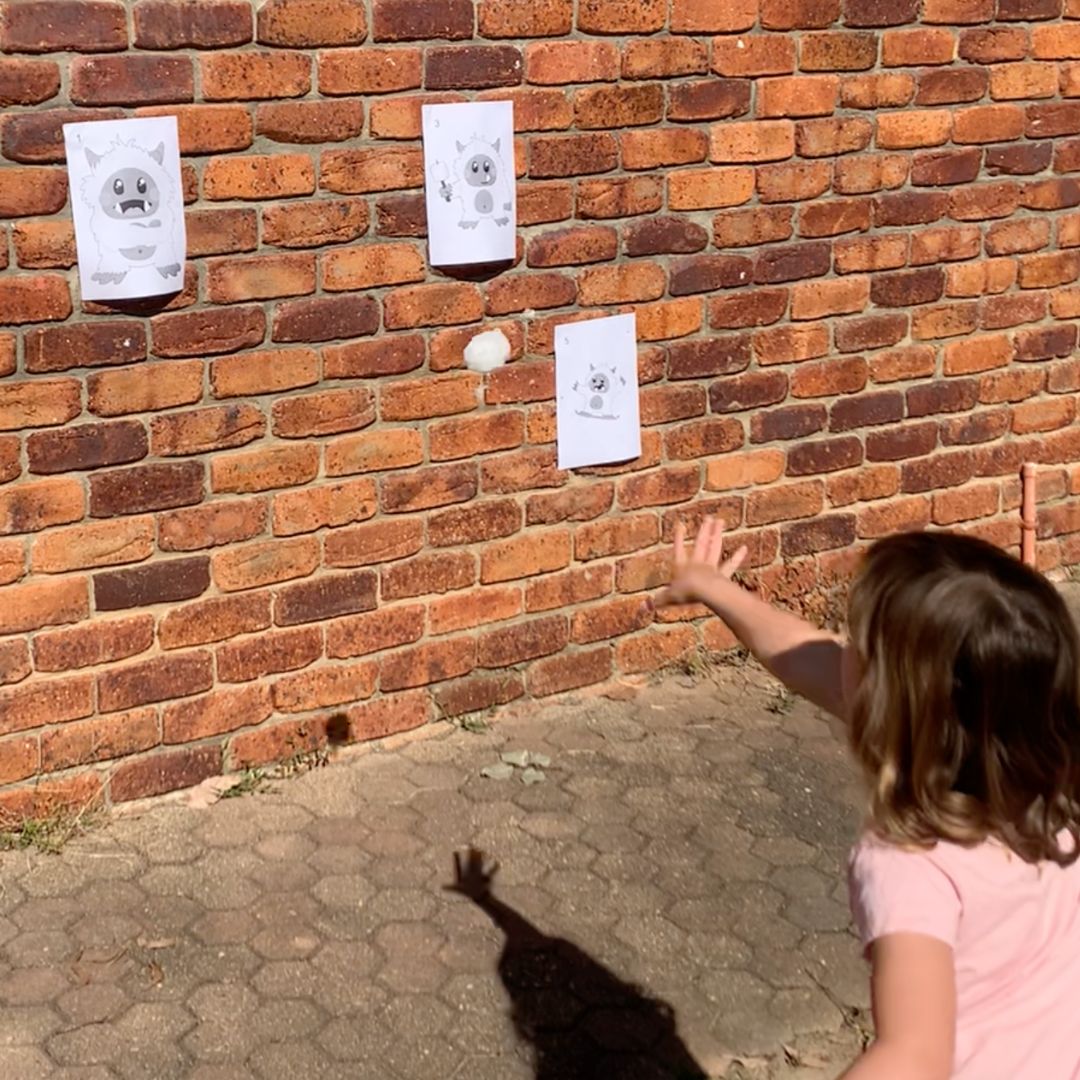
5. Snowball Yeti Target Toss:
- Set up various targets along the fence or side of the house, and number each target 1 to 5. To simplify things, we have included some yeti posters that you can use. Click the link for the printable download.
- Make a mark on the ground approximately 10ft (3m) from the fence or wall to indicate the throwing line.
- Take turns throwing snowballs at the yetis. Start by aiming for target number 1. Once you hit the first target you can move on to target 2. Each yeti target is a little smaller than the last, making them a bit more challenging to hit.
- The first player to hit all five yetis in the correct order is the winner.
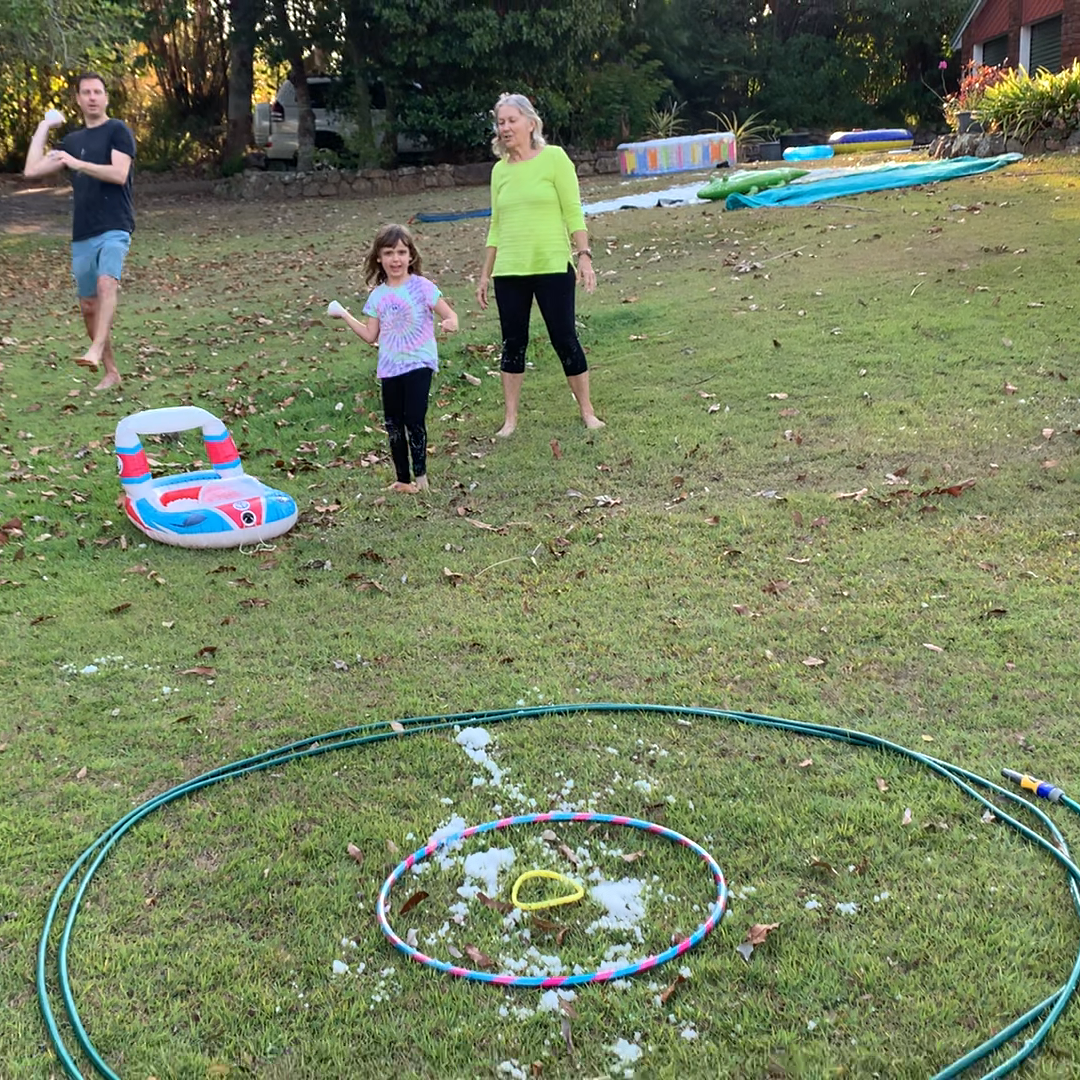
6. Snowball Lawn Darts:
- Create a large bullseye-style target on the lawn using ropes (skipping ropes, ratchet straps etc), hula hoops, garden hoses or markers.
- Assign different point values to different rings of the bullseye. E.g. 5 points for a bullseye, 3 points for the middle ring, 1 point for the outer ring.
- Each player takes turns throwing snowballs and earns points based on where their snowball lands on the target.
- The closer to the center, the more points they get.
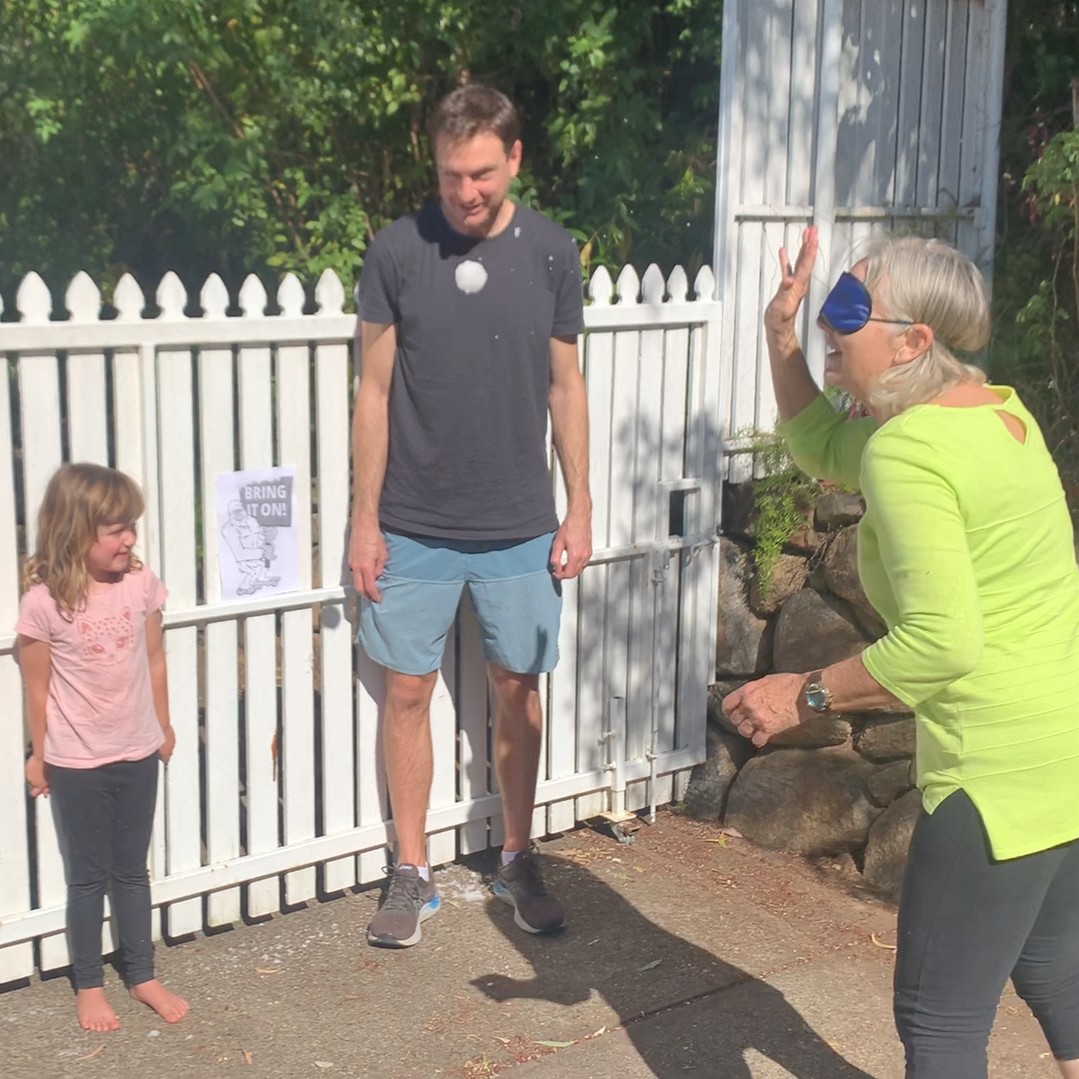
7. Pin the Yeti with Snowballs:
- Attach a yeti poster to a fence or wall (see download).
- Set up a throwing line approximately 10ft (3m) from the poster.
- Blindfold the first player at the throw line, have them spin around three times, and hand them a snowball.
- Do not point them in the correct direction. See if they can aim themselves the correct way.
- The blindfolded player must attempt to hit the yeti with the snowball, aiming for the body or face.
- After their throw alternate turns with the other players.
- The player who gets closest to the target wins the game.
- A fun variation is to have all players that are not throwing, line up on either side of the yeti (in the snowball danger zone). If the person throwing misses the yeti target they may accidentally hit one of their friends. They won't win the game but it's good for a laugh.
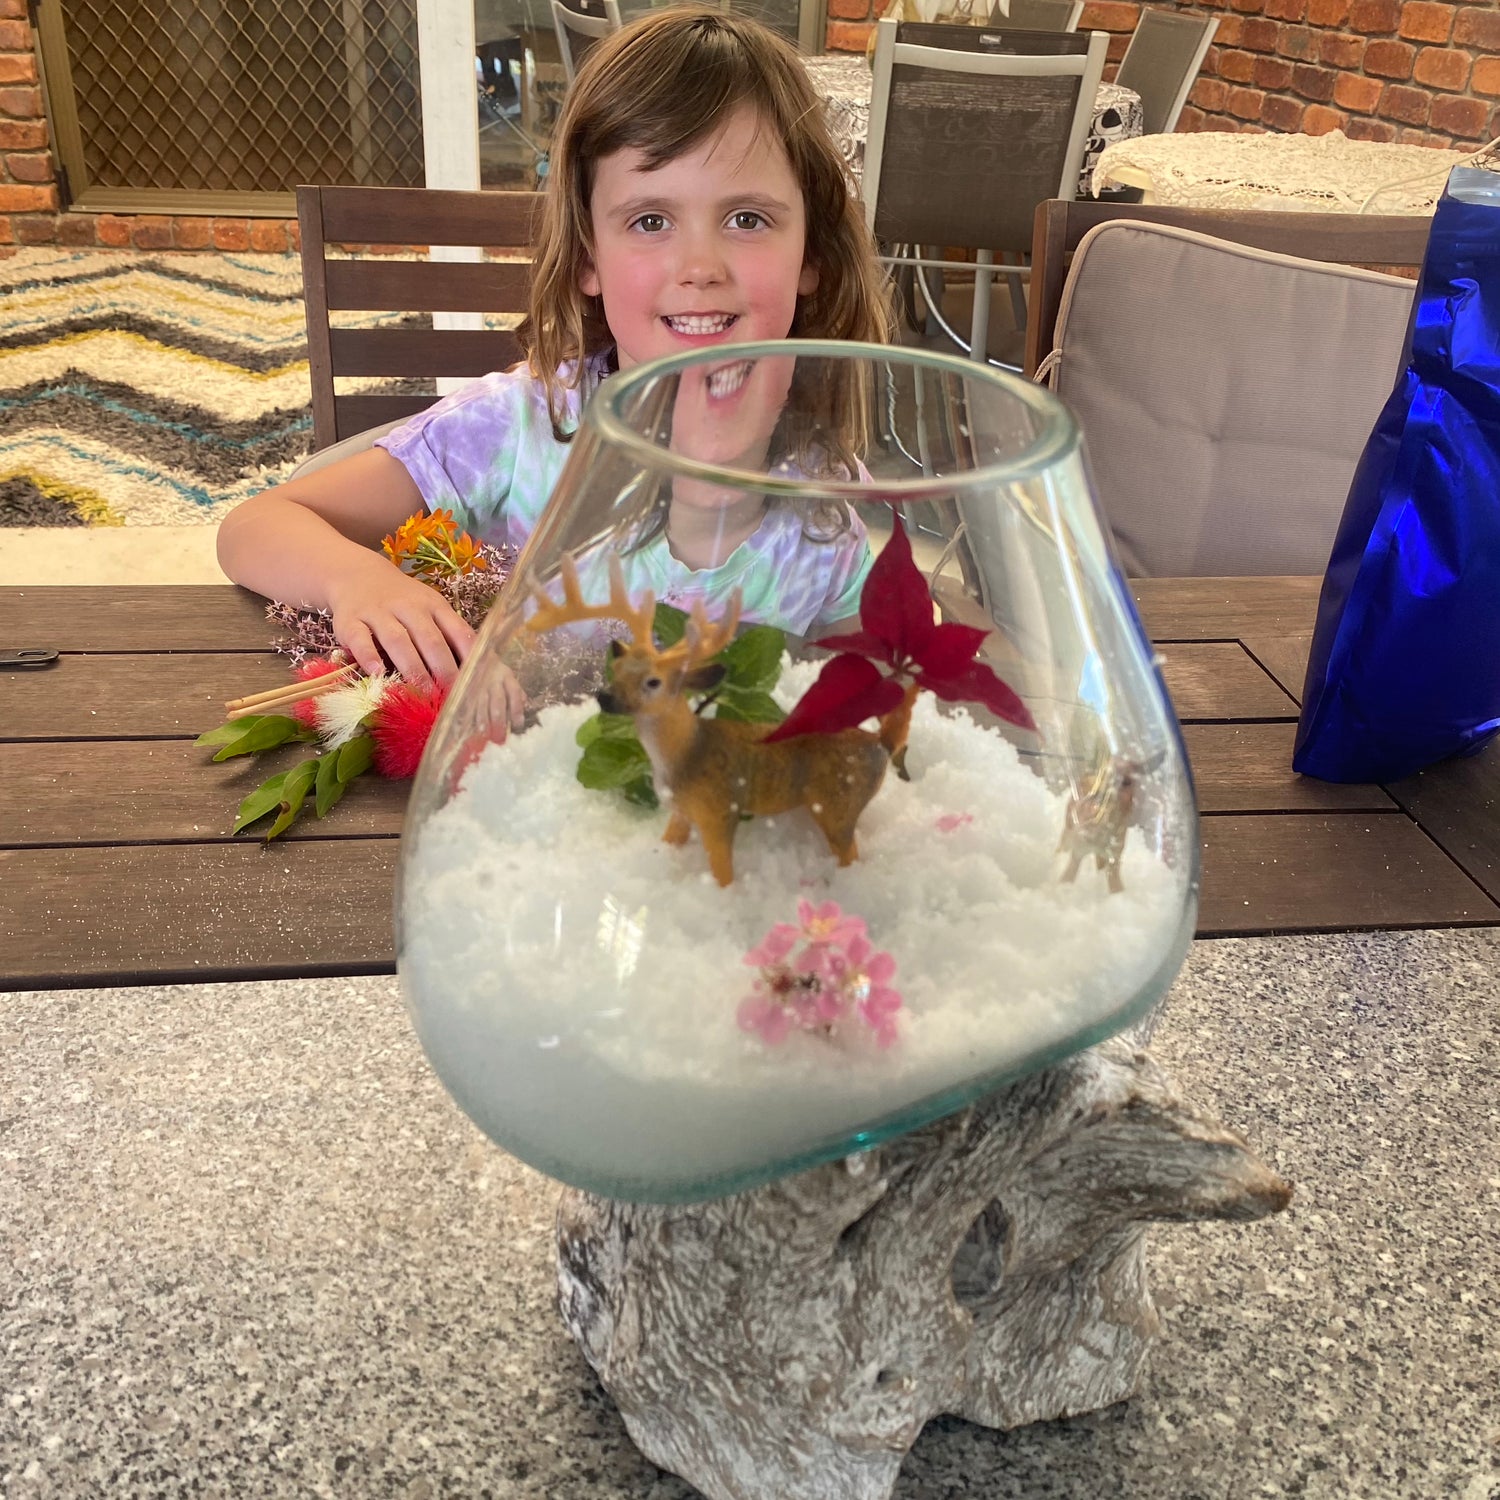
8. Winter Terrarium:
- Prepare a clear glass container or jar.
- Fill the container with a layer of Instant Snow.
- Add small winter animals and foliage, such as tiny plastic trees, fake snow-covered plants or real clipping from your garden.
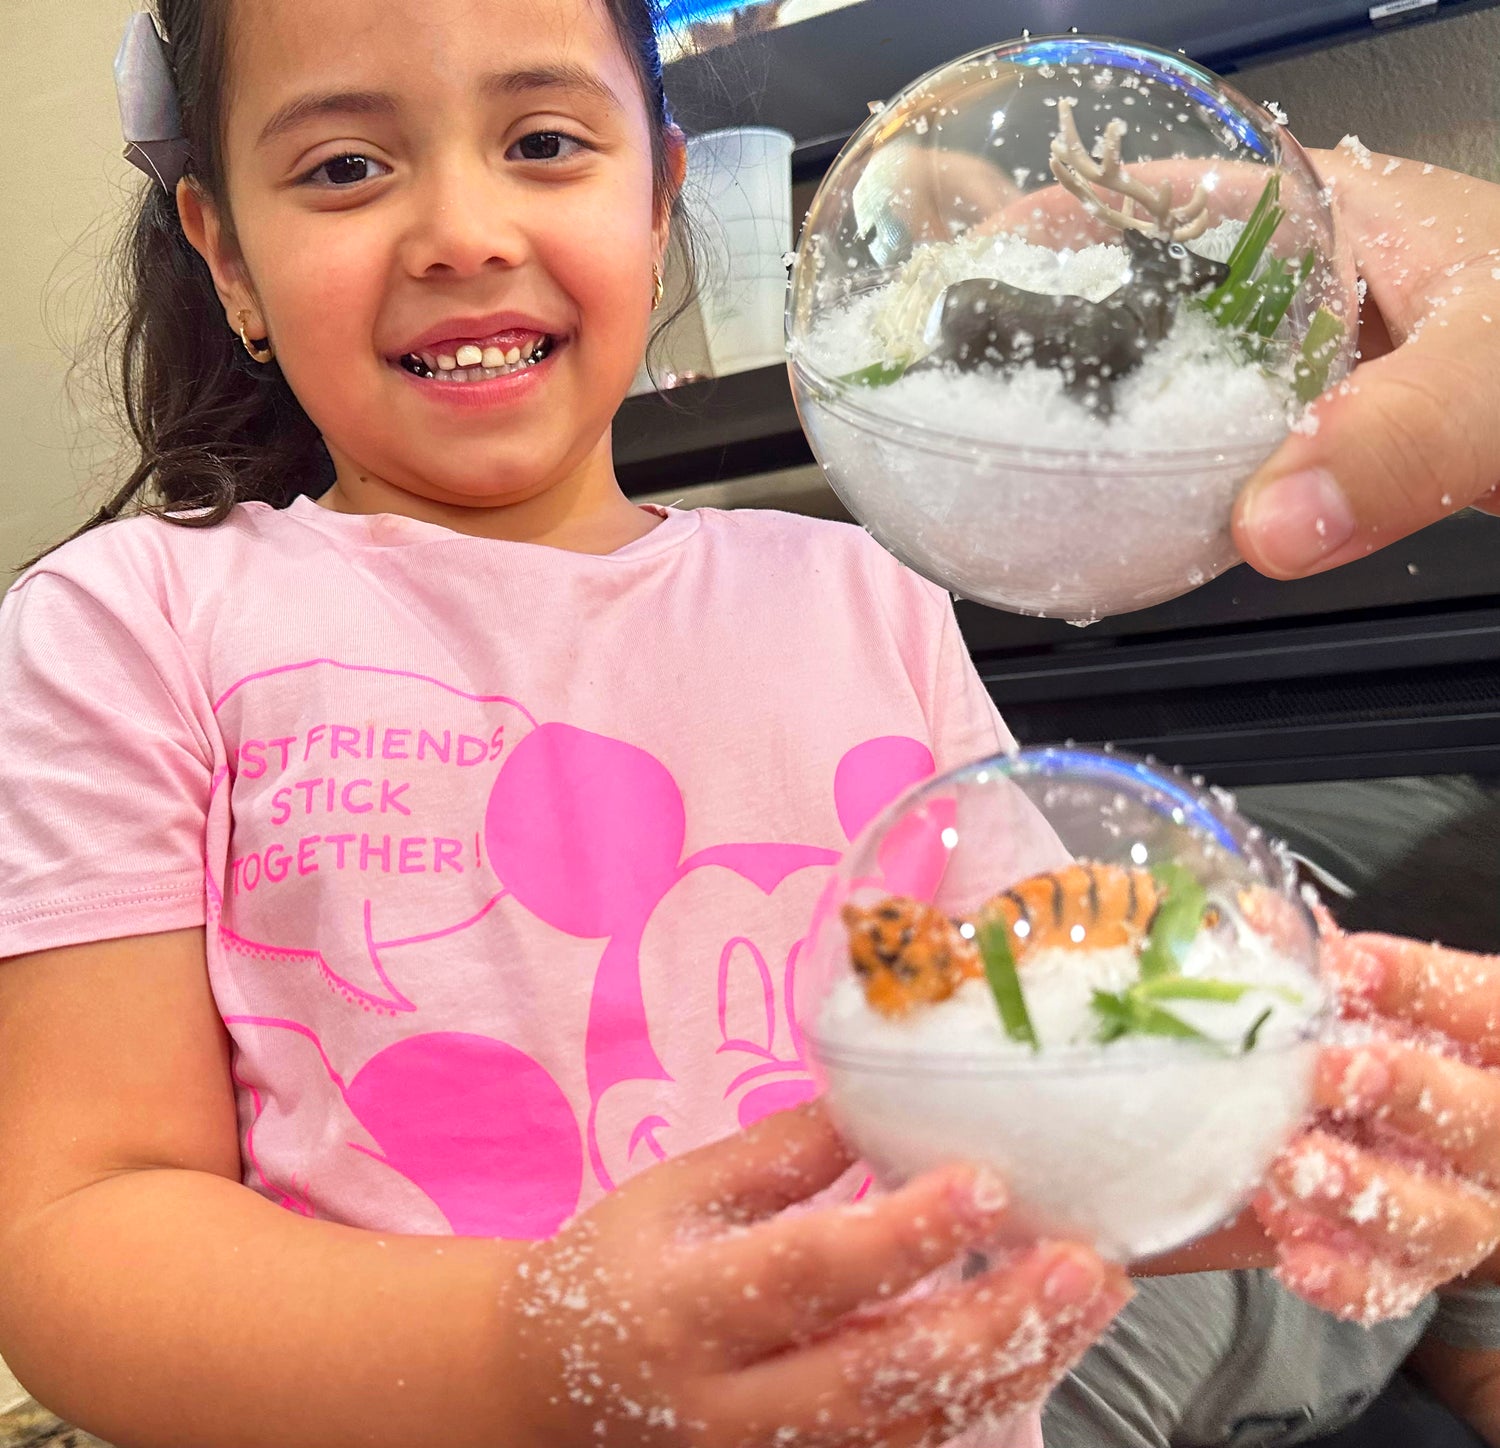
9. Make a Decorative Snow Globe:
- Use a transparent clear plastic ball or bauble to make your own snow globe or Christmas ornament.
- Fill the bottom half with snow and the top half with whatever you like.
Fun Fact: Snow globes were first created in the early 19th century and were initially designed as paperweights. They gained popularity when they started incorporating miniature winter scenes, creating a charming miniature winter wonderland inside a glass sphere.
10. Make Animal Tracks in the Snow:
- Provide a guide showing common animal tracks (see download).
- Let the kids try to replicate these tracks in the snow using their hands, or other small objects.
- Encourage creativity and storytelling as they imagine different animals roaming in the winter landscape.
Fun fact: Did you know, some animals have evolved unique adaptations to help them move efficiently in snowy conditions. For instance, the snowshoe hare, which lives in areas with heavy snowfall, has large hind feet covered in fur. These feet act like natural snowshoes, allowing the hare to distribute its weight and prevent it from sinking too deeply into the snow as it hops along. This adaptation helps the snowshoe hare move quickly and conserve energy while navigating its snowy habitat.
-
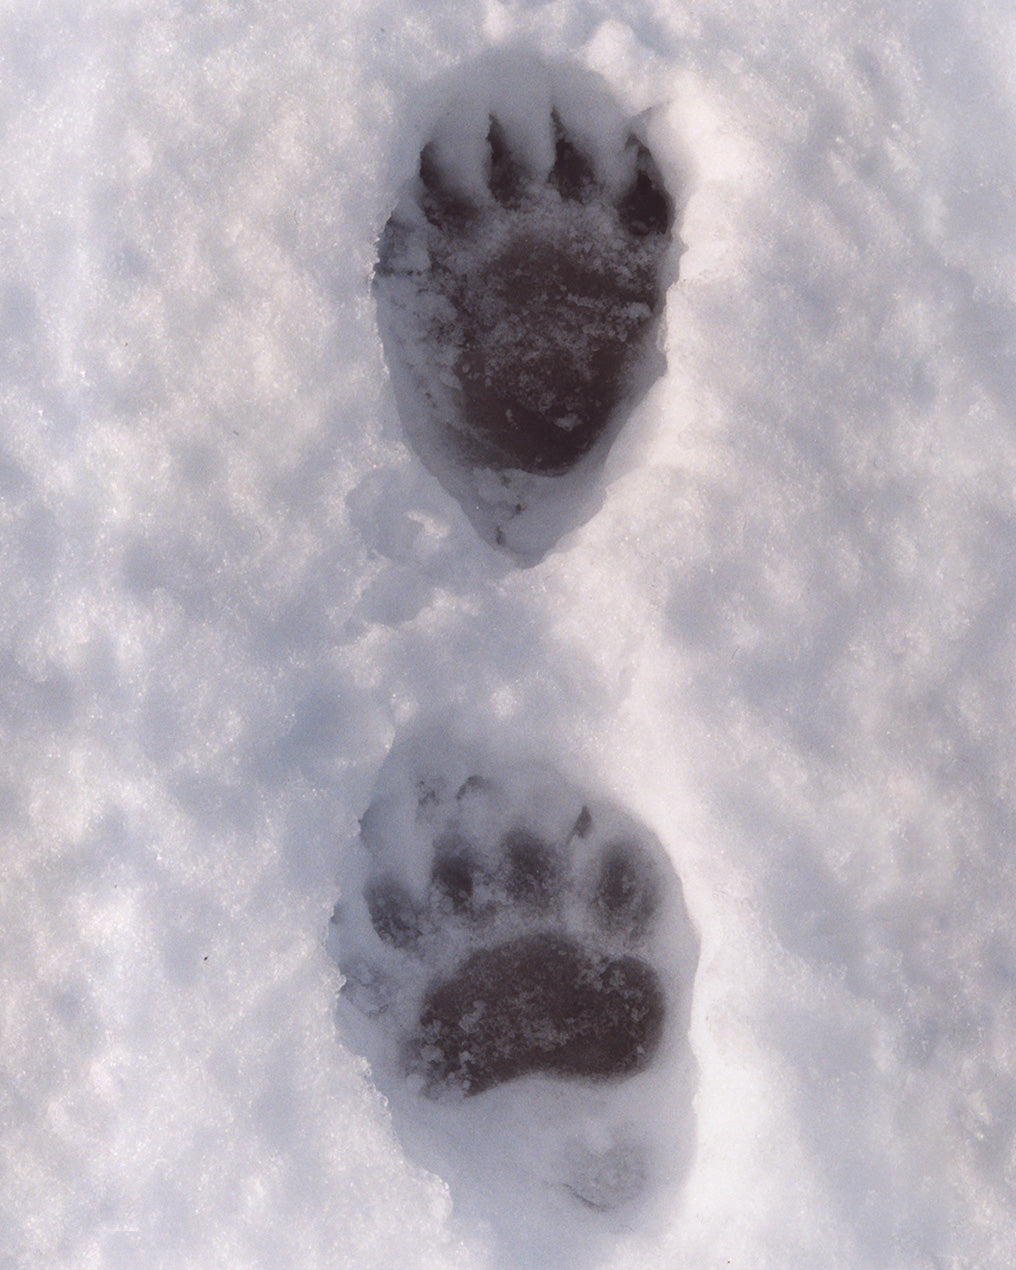
Bear Tracks
-
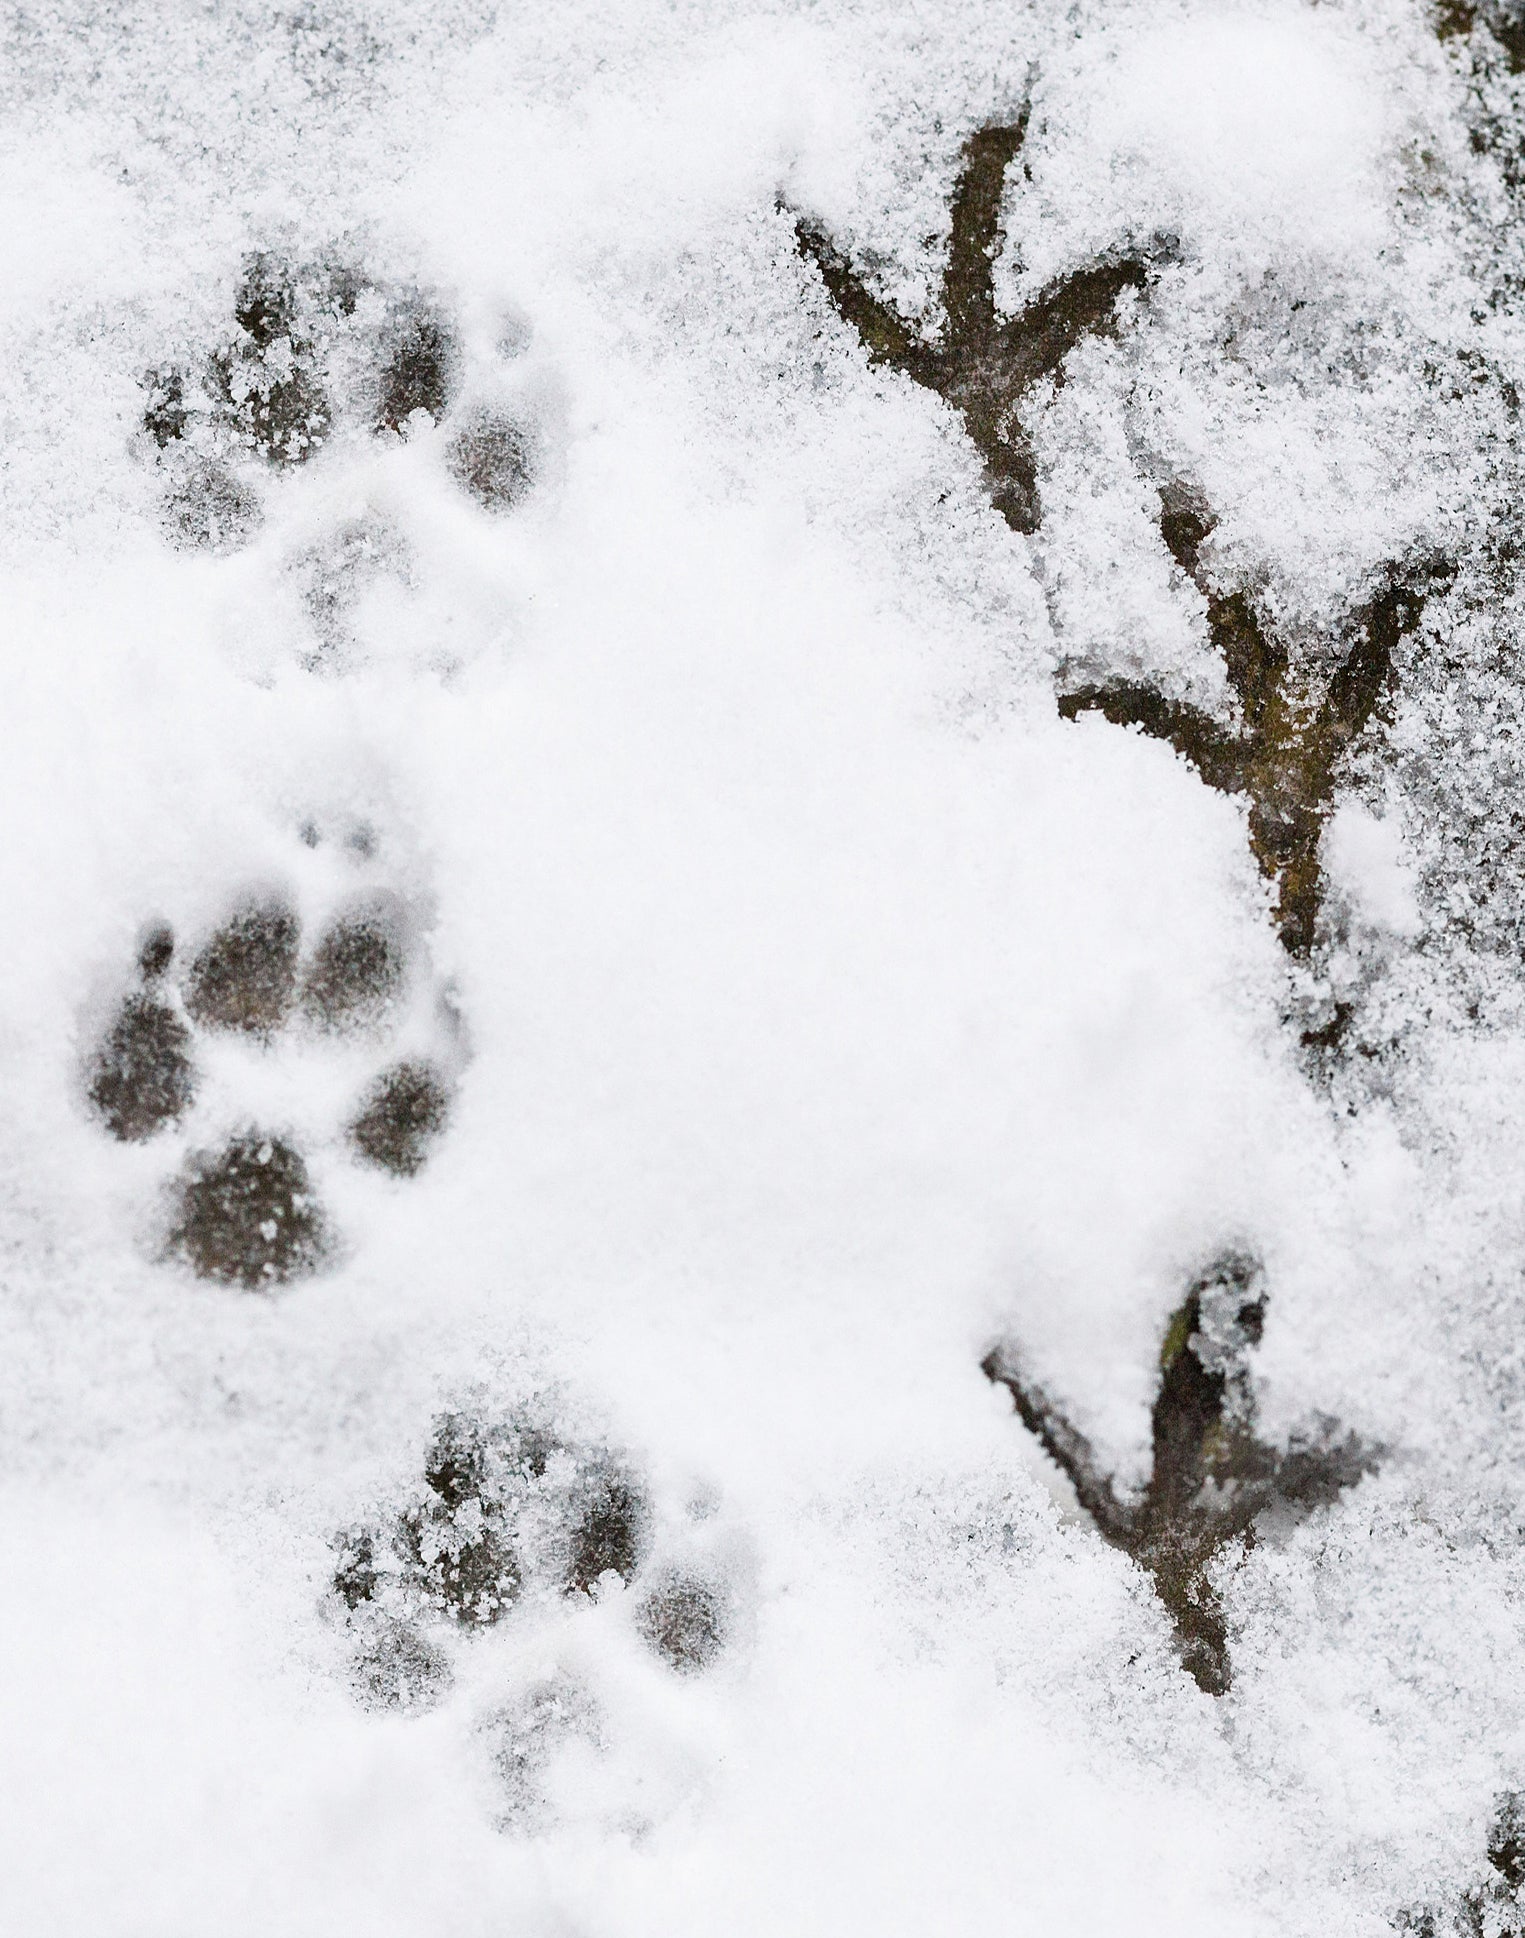
Can you guess these track?
-
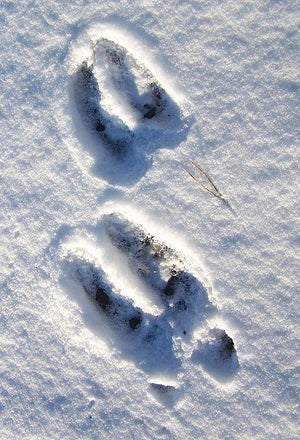
Moose Tracks
11. Make a Snow Raceway:
- In the snow, carve out a racetrack using toy shovels or other tools.
- Make twists, turns, and snow covered tunnels for toy cars to drive through.
- Have fun racing the toy cars around the track, and see whose car reaches the finish line first.
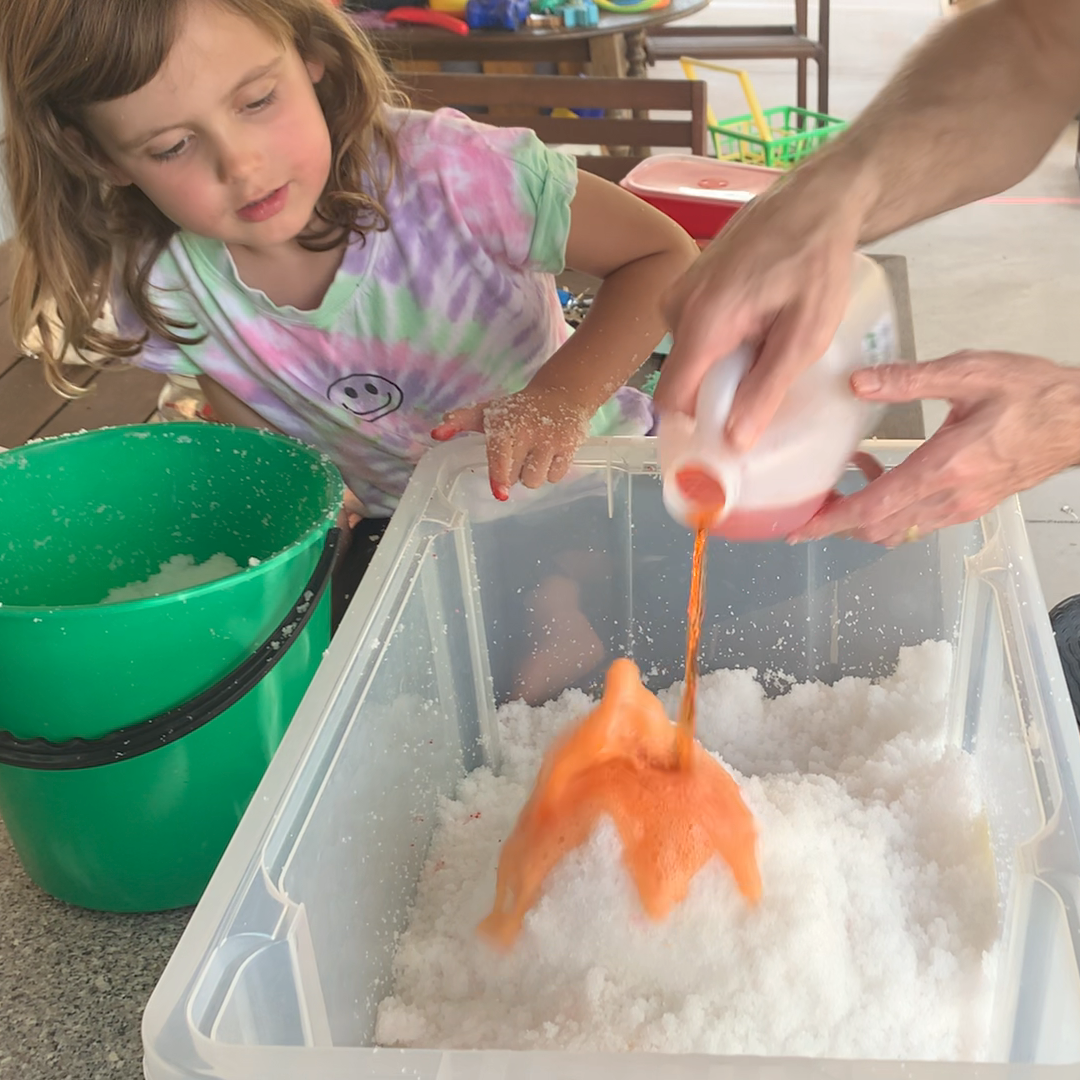
12. Build a Snowy Mountain Volcano:
- Form a mountain of snow around an empty water bottle, leaving the top open.
- Give your child a heaping tablespoon of baking soda and have them dump it into the bottle using a funnel.
- Add vinegar to a pouring jug and mix in a few drops of food coloring (red and yellow).
- Quickly pour the vinegar into the bottle.
- Stand back and watch as the "lava" erupts from the snow volcano.
- See if the lava melts the snow.
Fun Fact: Volcanos in the snow often create volcanic lighting from colliding particles of volcanic ash and ice, making the eruptions an even more dramatic spectacle.
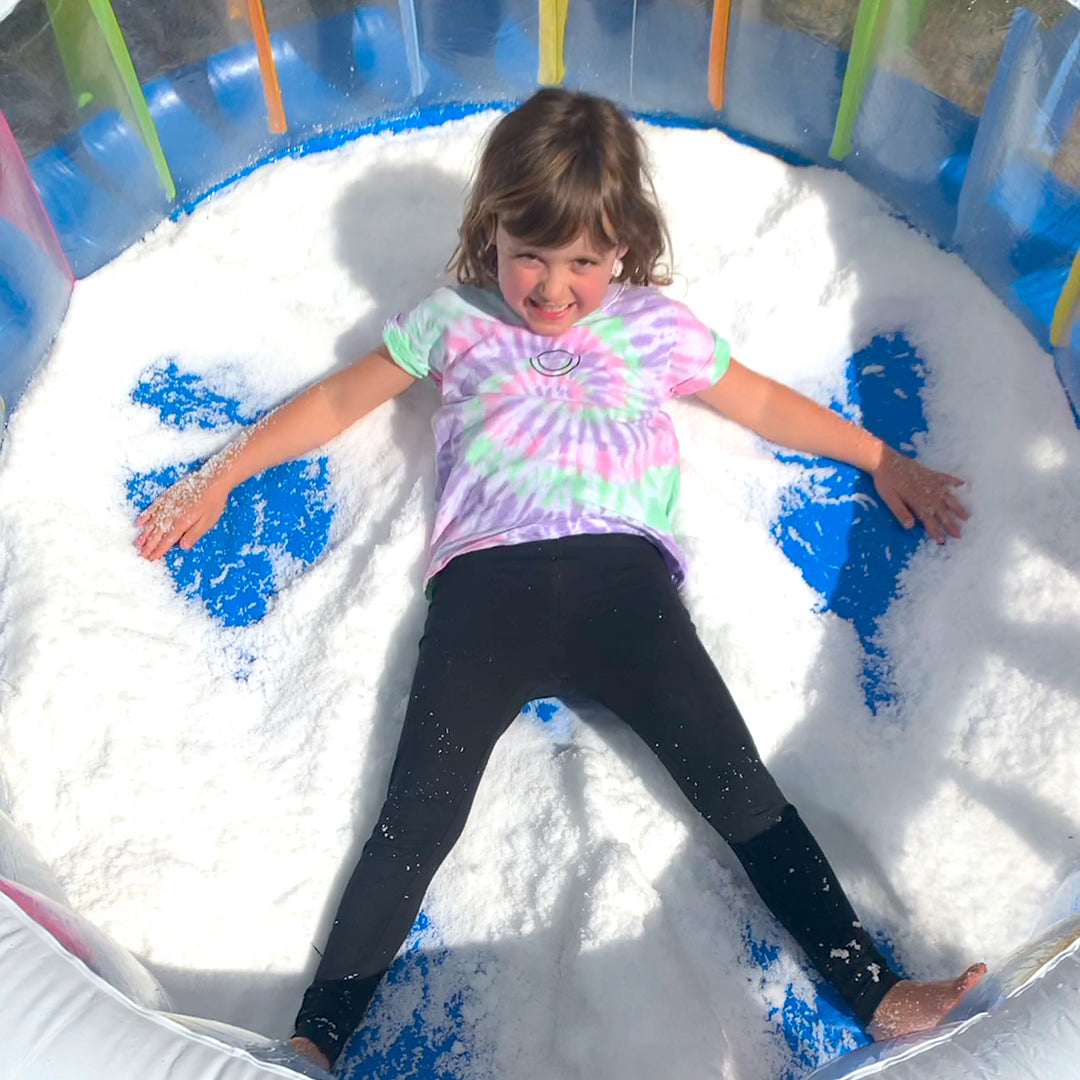
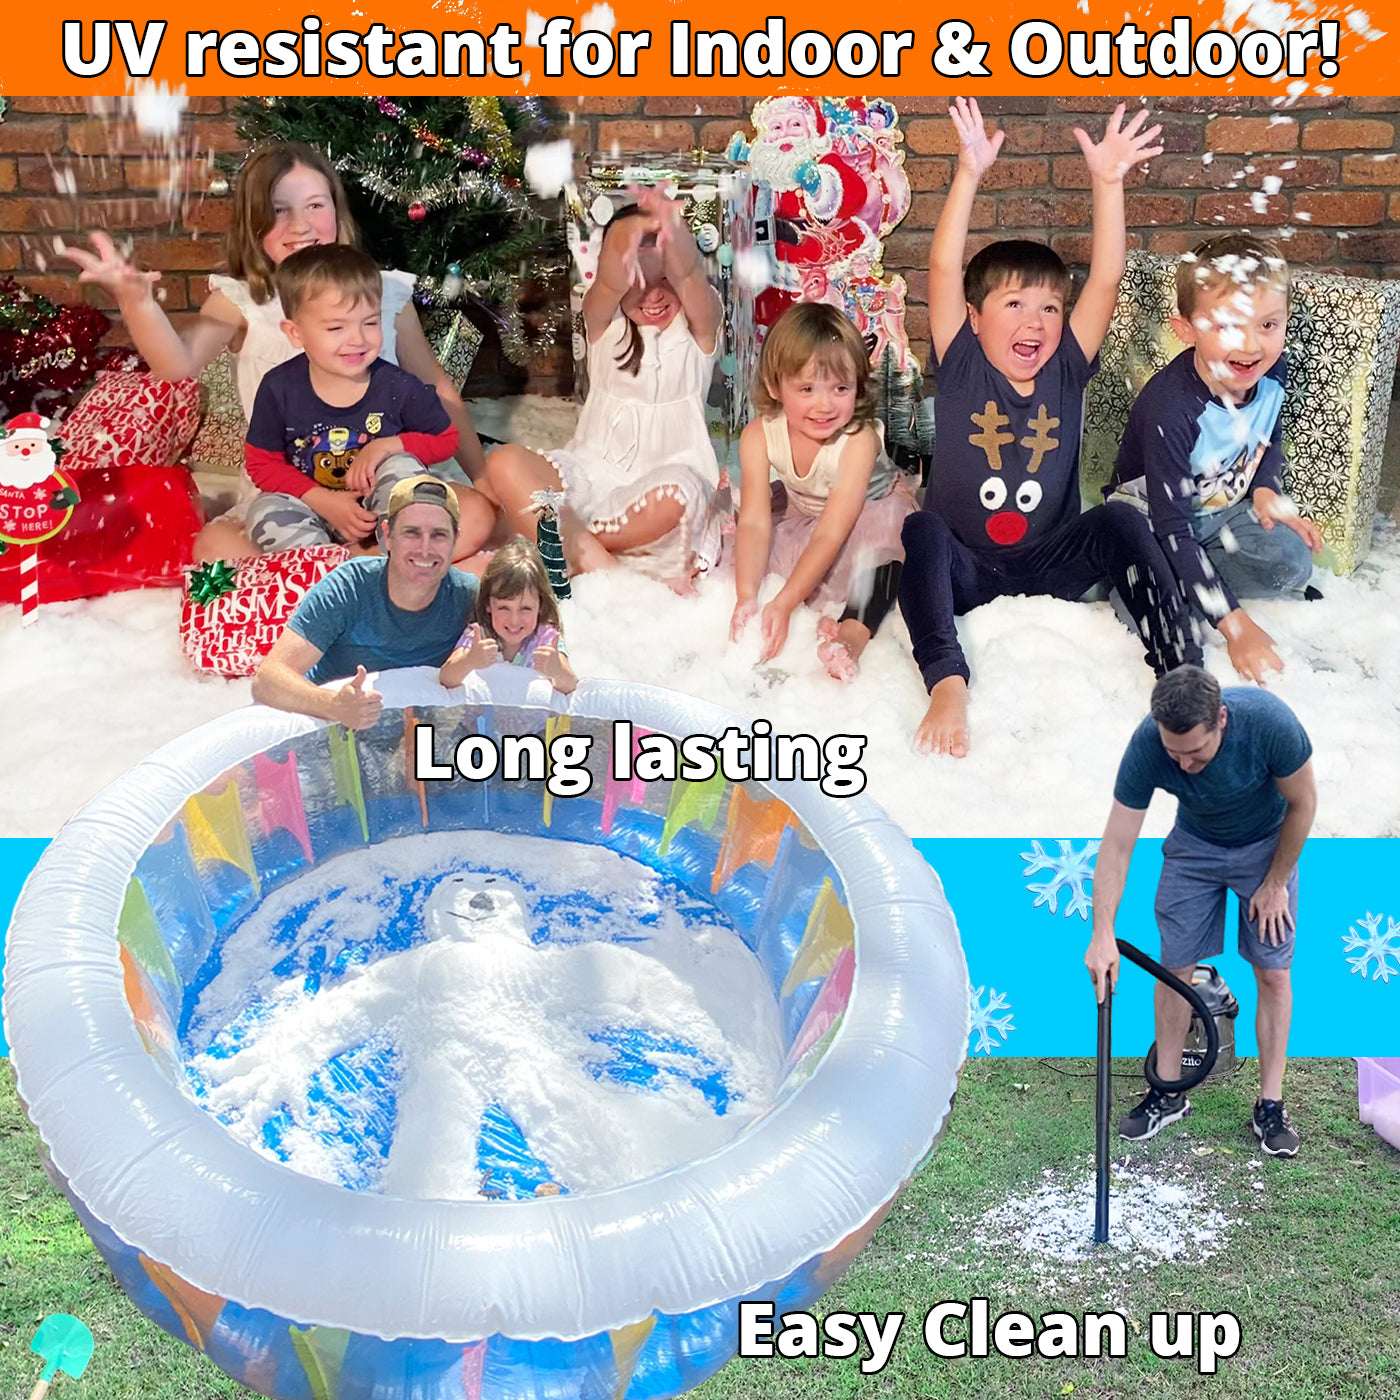
13. Make Snow Angels:
- If you have enough snow, spread it out a thin layer with enough snow coverage for your child to lie down in.
- Have them lie flat on their back and flap their arms and legs to create "snow angels."
Teaching point: Discuss the symmetry of the snow angels and encourage them to try different poses.
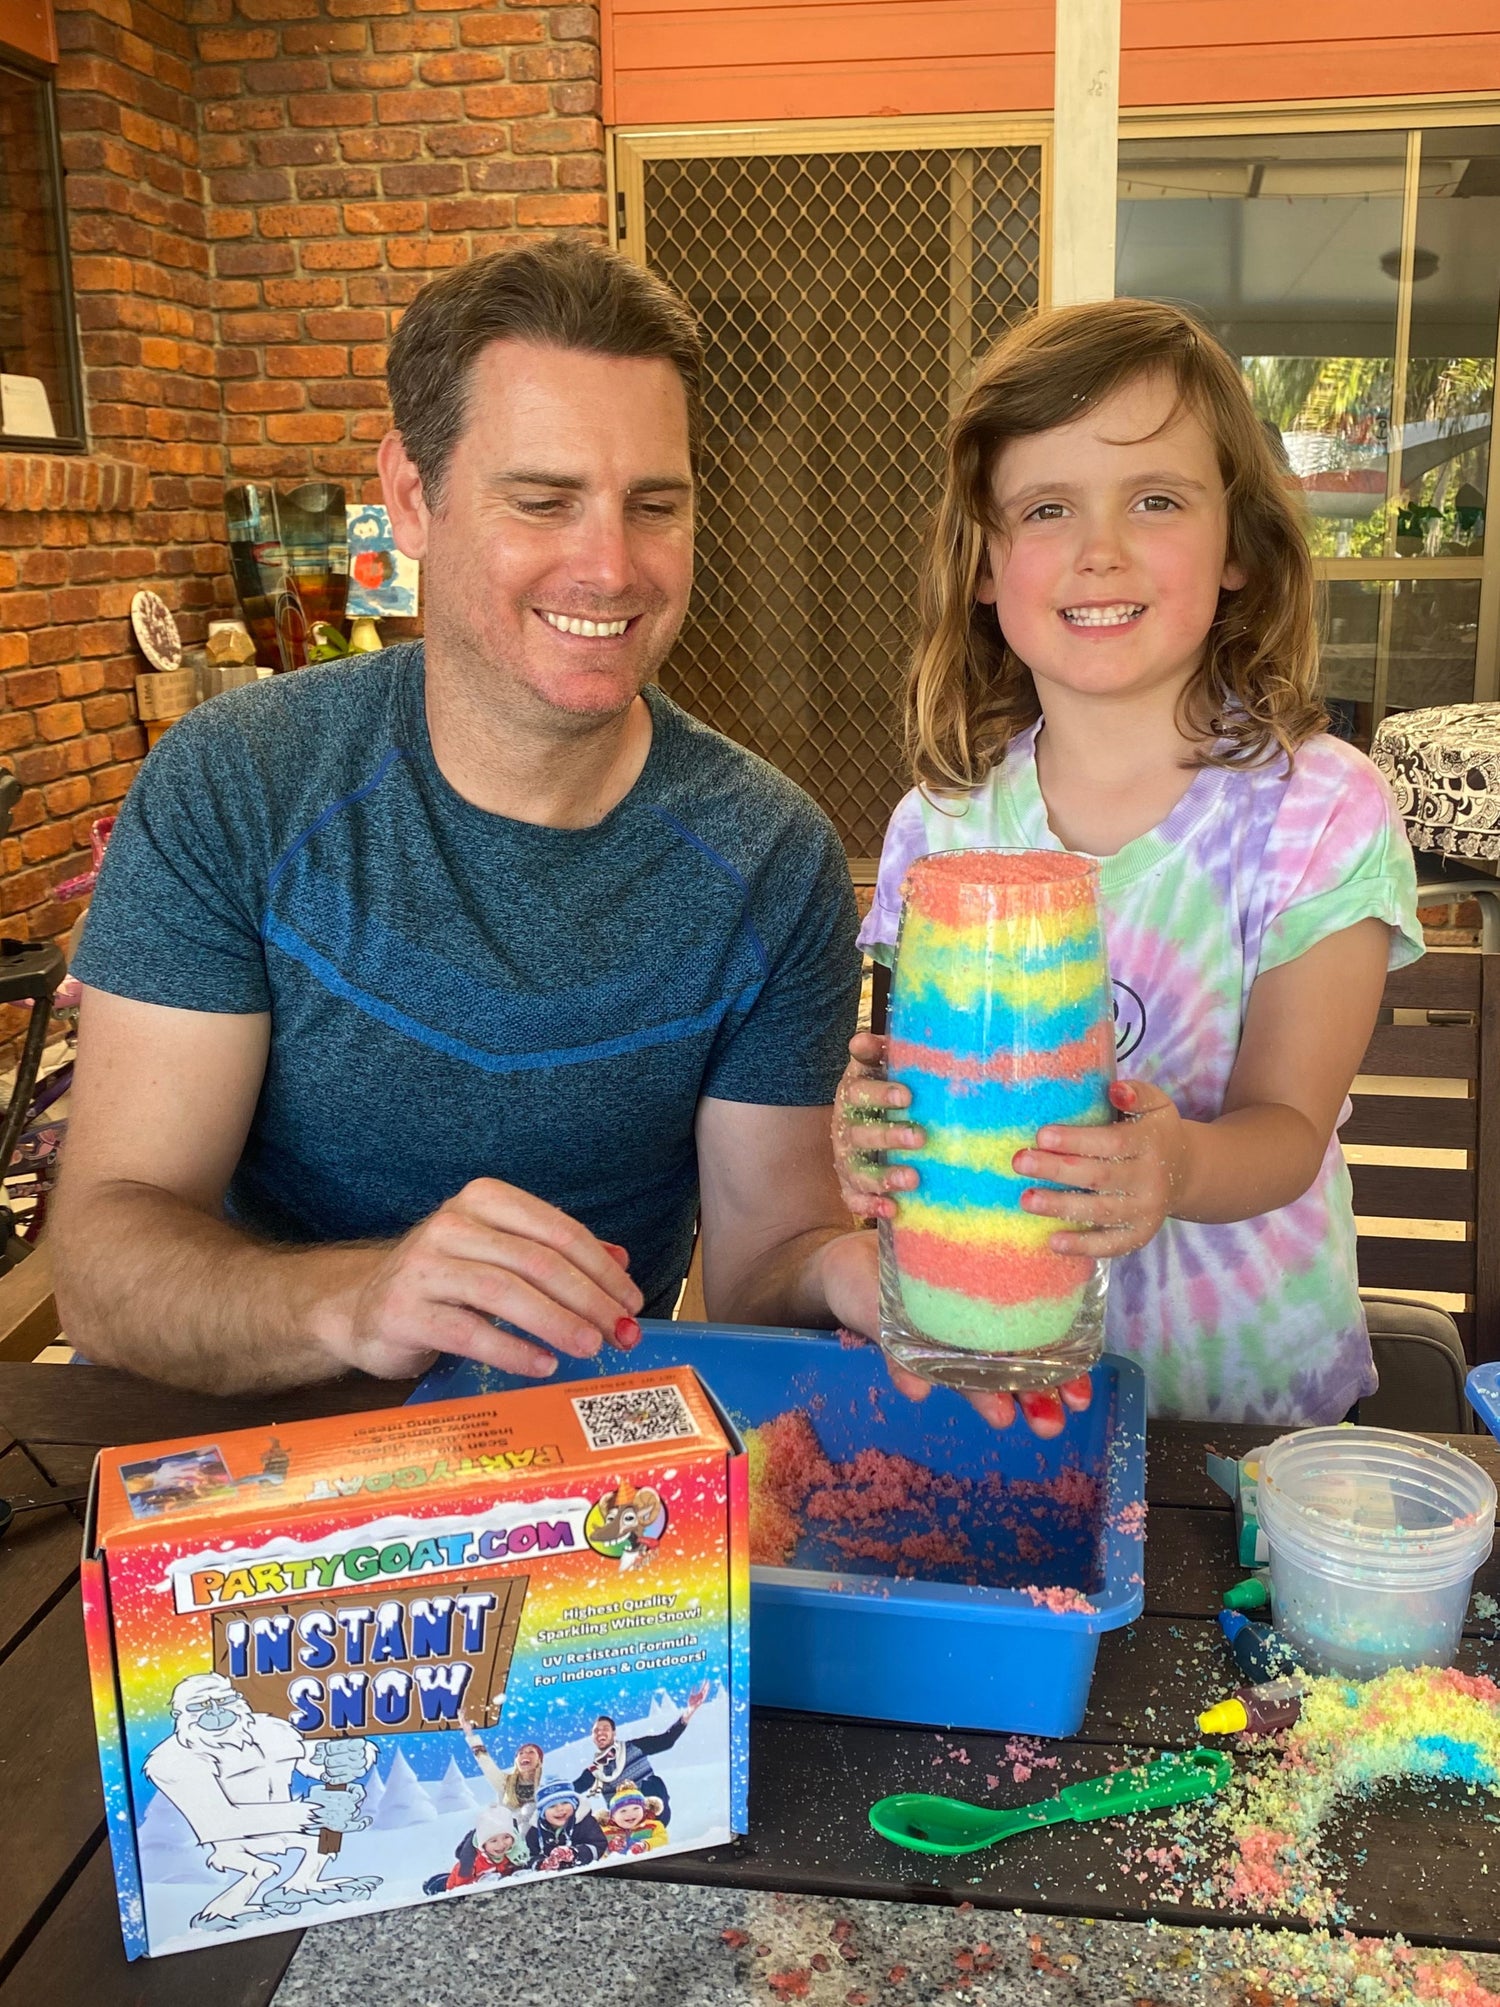
14. Colored Rainbow Snow Art:
- Add a few drops of food coloring to separate piles of snow to create different colored snow. You may want to shake it up in a container to avoid getting color on your hands.
- Layer the colored snow in a tall glass jar or container to create a colorful rainbow effect.
- After a day or two the colors from the different layers may start to blend to form new colors.
Teaching point: Discuss color mixing and which colors combine to make new colors.
Fun fact: Colors come from different pigments, like red, blue, and yellow. When we mix these colors together, they can create new colors! For example, if we mix red and blue, we get purple. Mixing yellow and blue gives us green, and red and yellow make orange! So, by experimenting with different combinations, we can have lots of fun creating a rainbow of beautiful new colors!
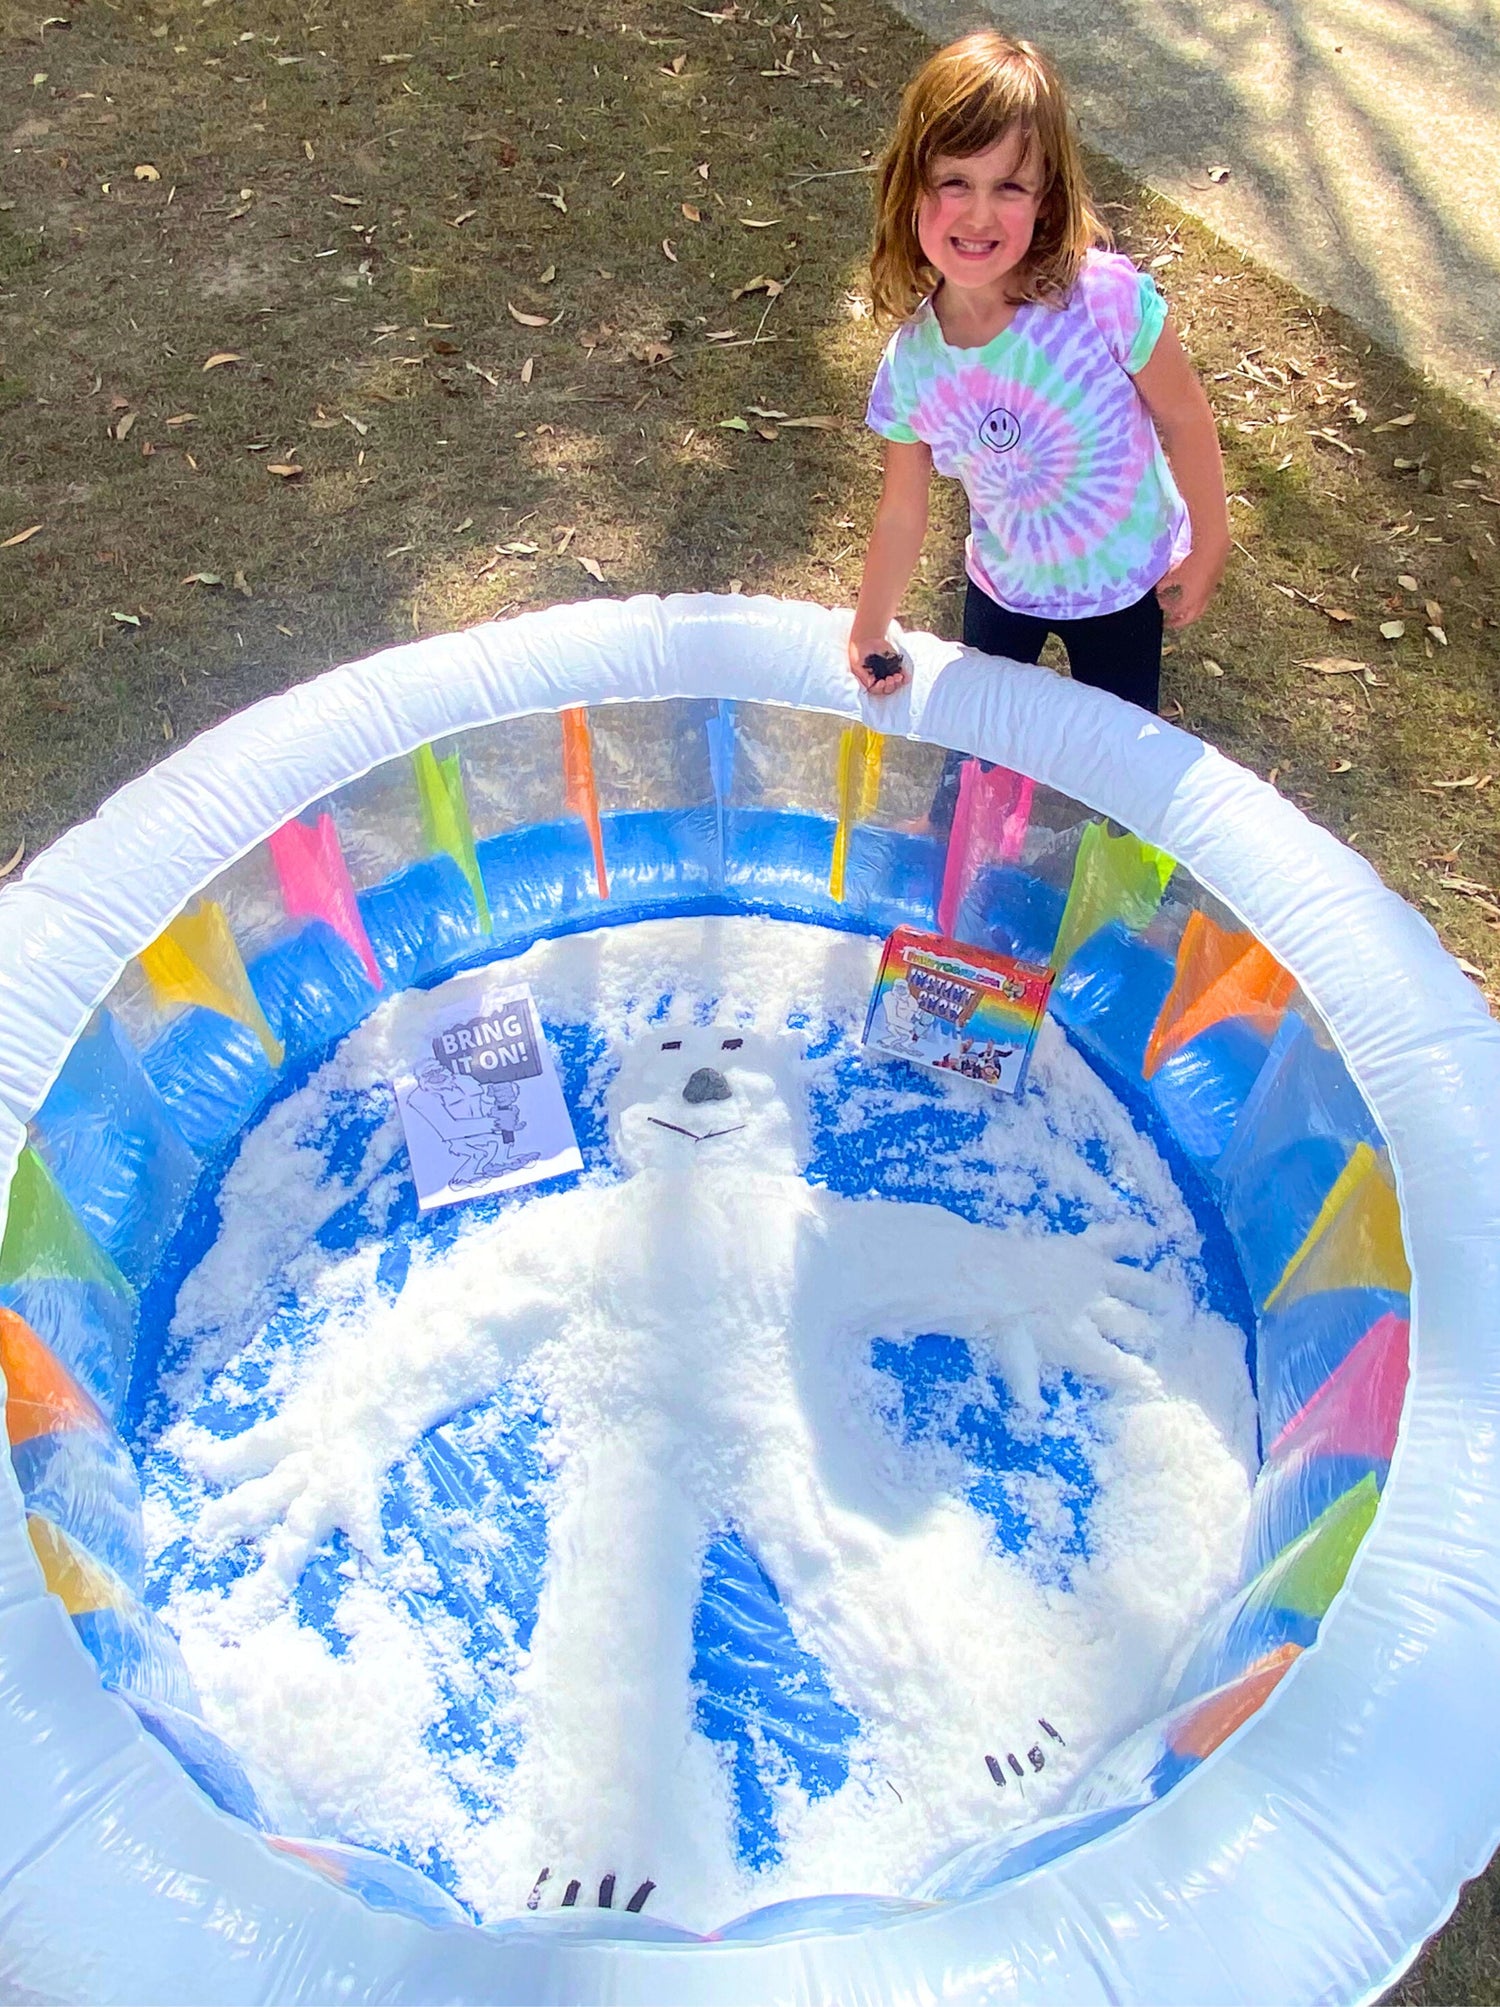
15. Build a Snow Yeti:
- Help your child mold the snow into the shape of a yeti lying down.
- Use sticks, rocks, and other natural materials to create a face and features for the yeti.
- Get creative and add accessories like leaves or small branches for hair.
- Take photos of their snow yeti creation to remember the fun.
Fun Fact: A Yeti is often referred to as the Abominable Snowman or Big Foot. Many people, particularly in the Himalayan Regions, believe these mythological creatures exist. They are just very difficult to see in the snow due to their elusive nature and fluffy white coats.
Do you believe in yetis?
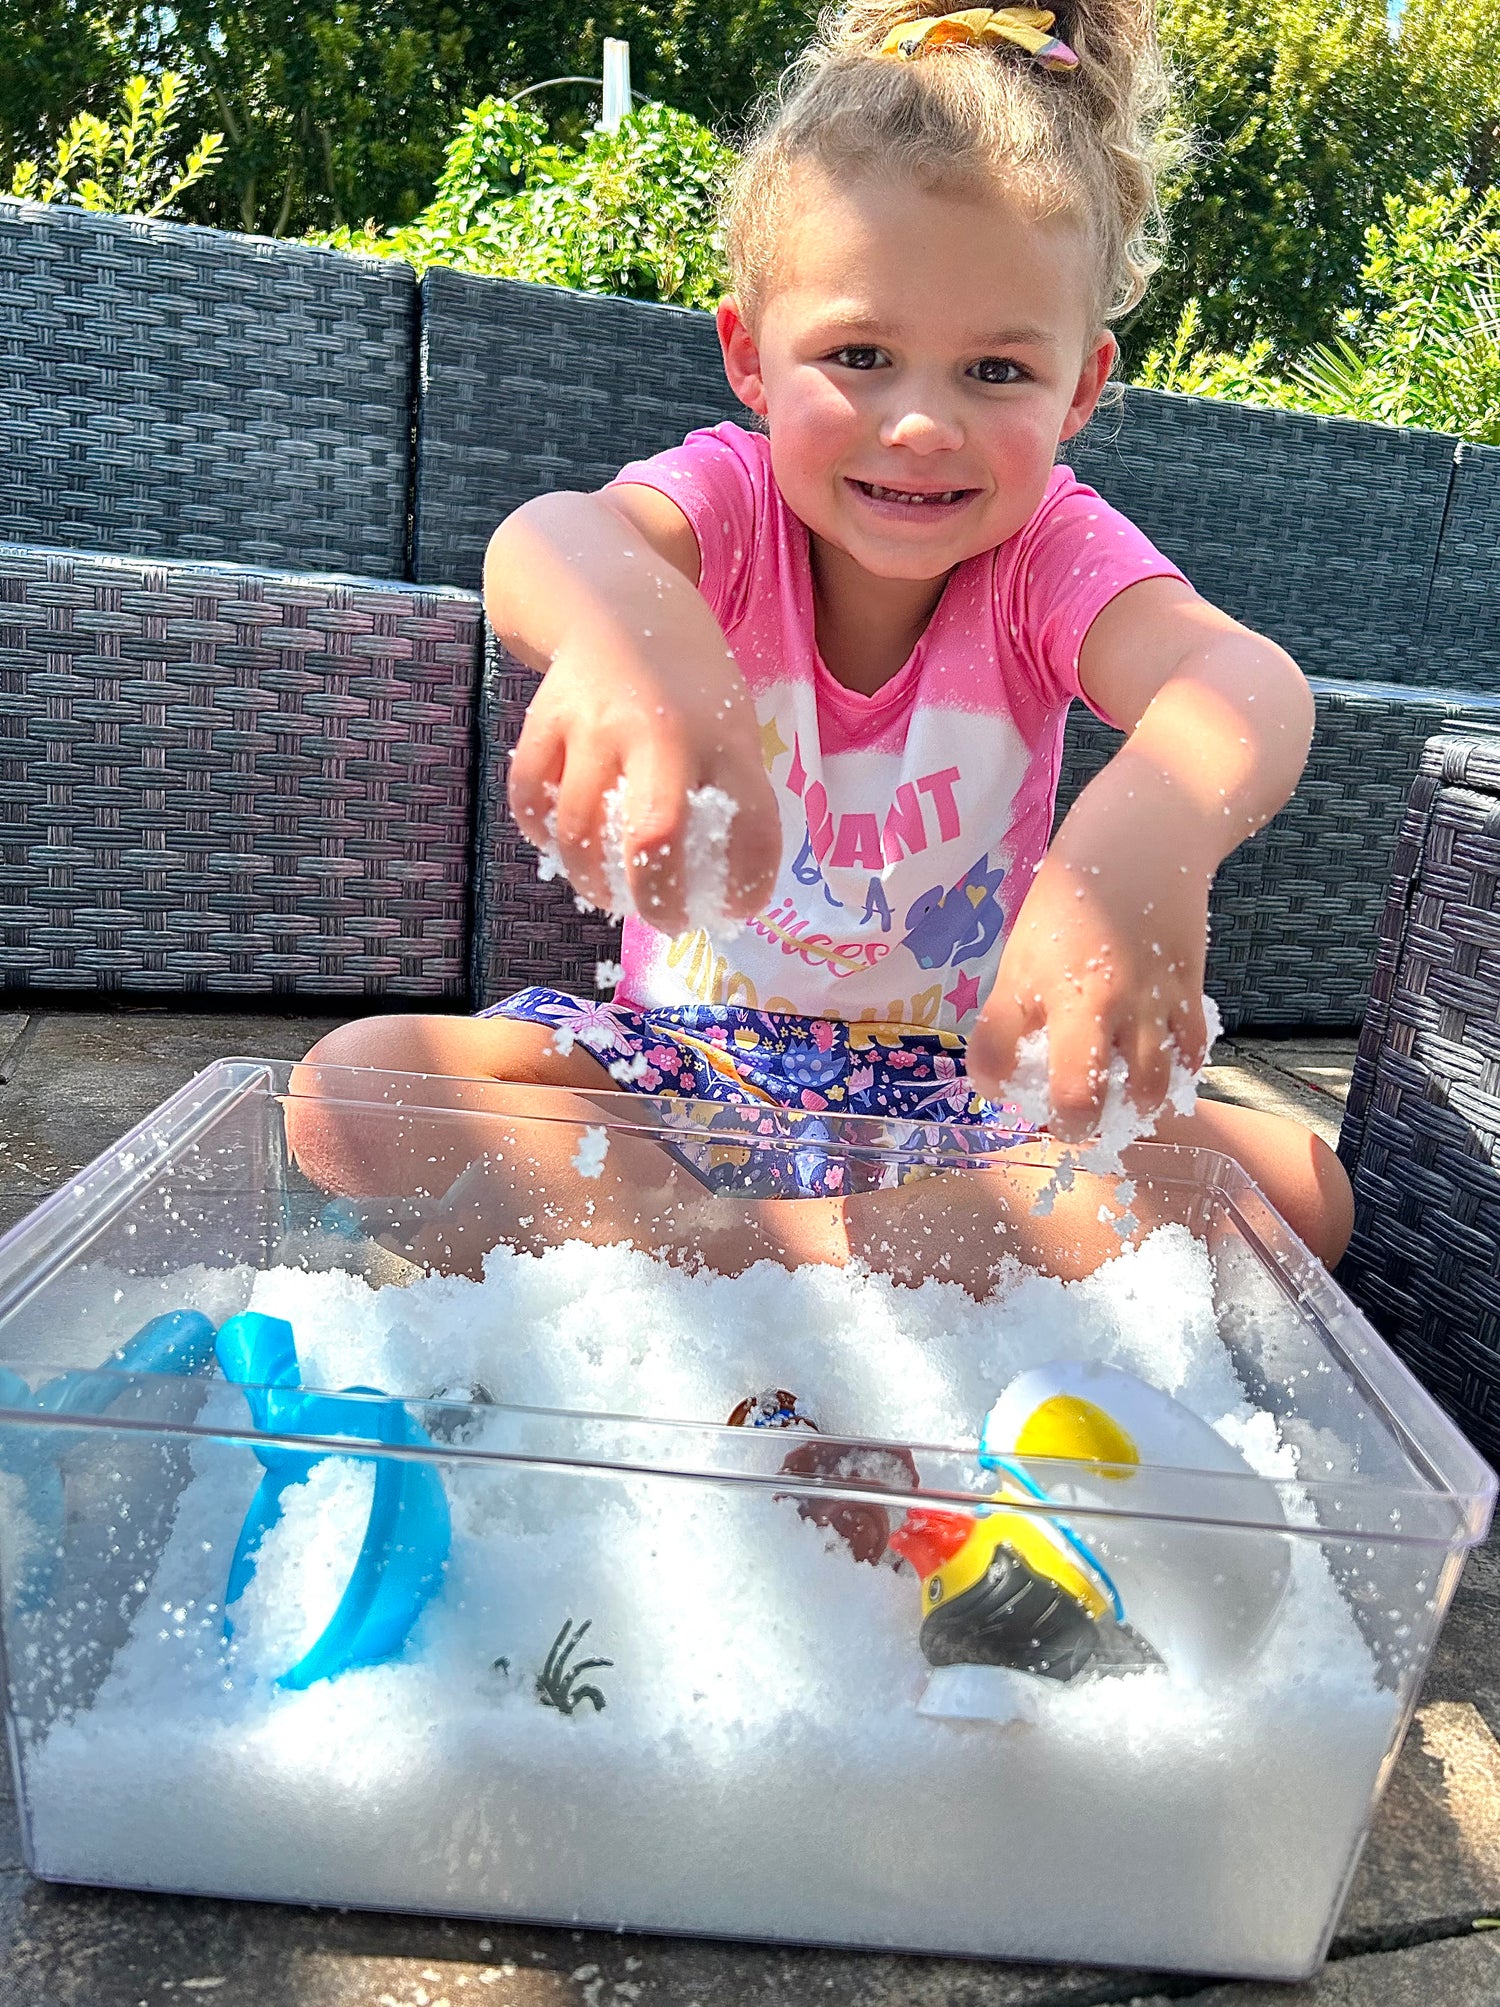
16. Buried in Snow Treasure Hunt:
- Hide various small toys or items in a designated area with enough snow coverage.
- Create a list or tell the kids what items to find (e.g. toy cars, plastic dinosaurs, etc).
- Encourage them to dig and uncover the hidden "treasure" buried in the snow.
Fun fact: Did you know that some animals from the Ice Age, like woolly mammoths and ancient cave lions, have been found perfectly preserved in the frozen ground called permafrost? Scientists can study these ancient animals to learn more about their lives and the environment they lived in thousands of years ago!
Race to find the objects buried in the snow
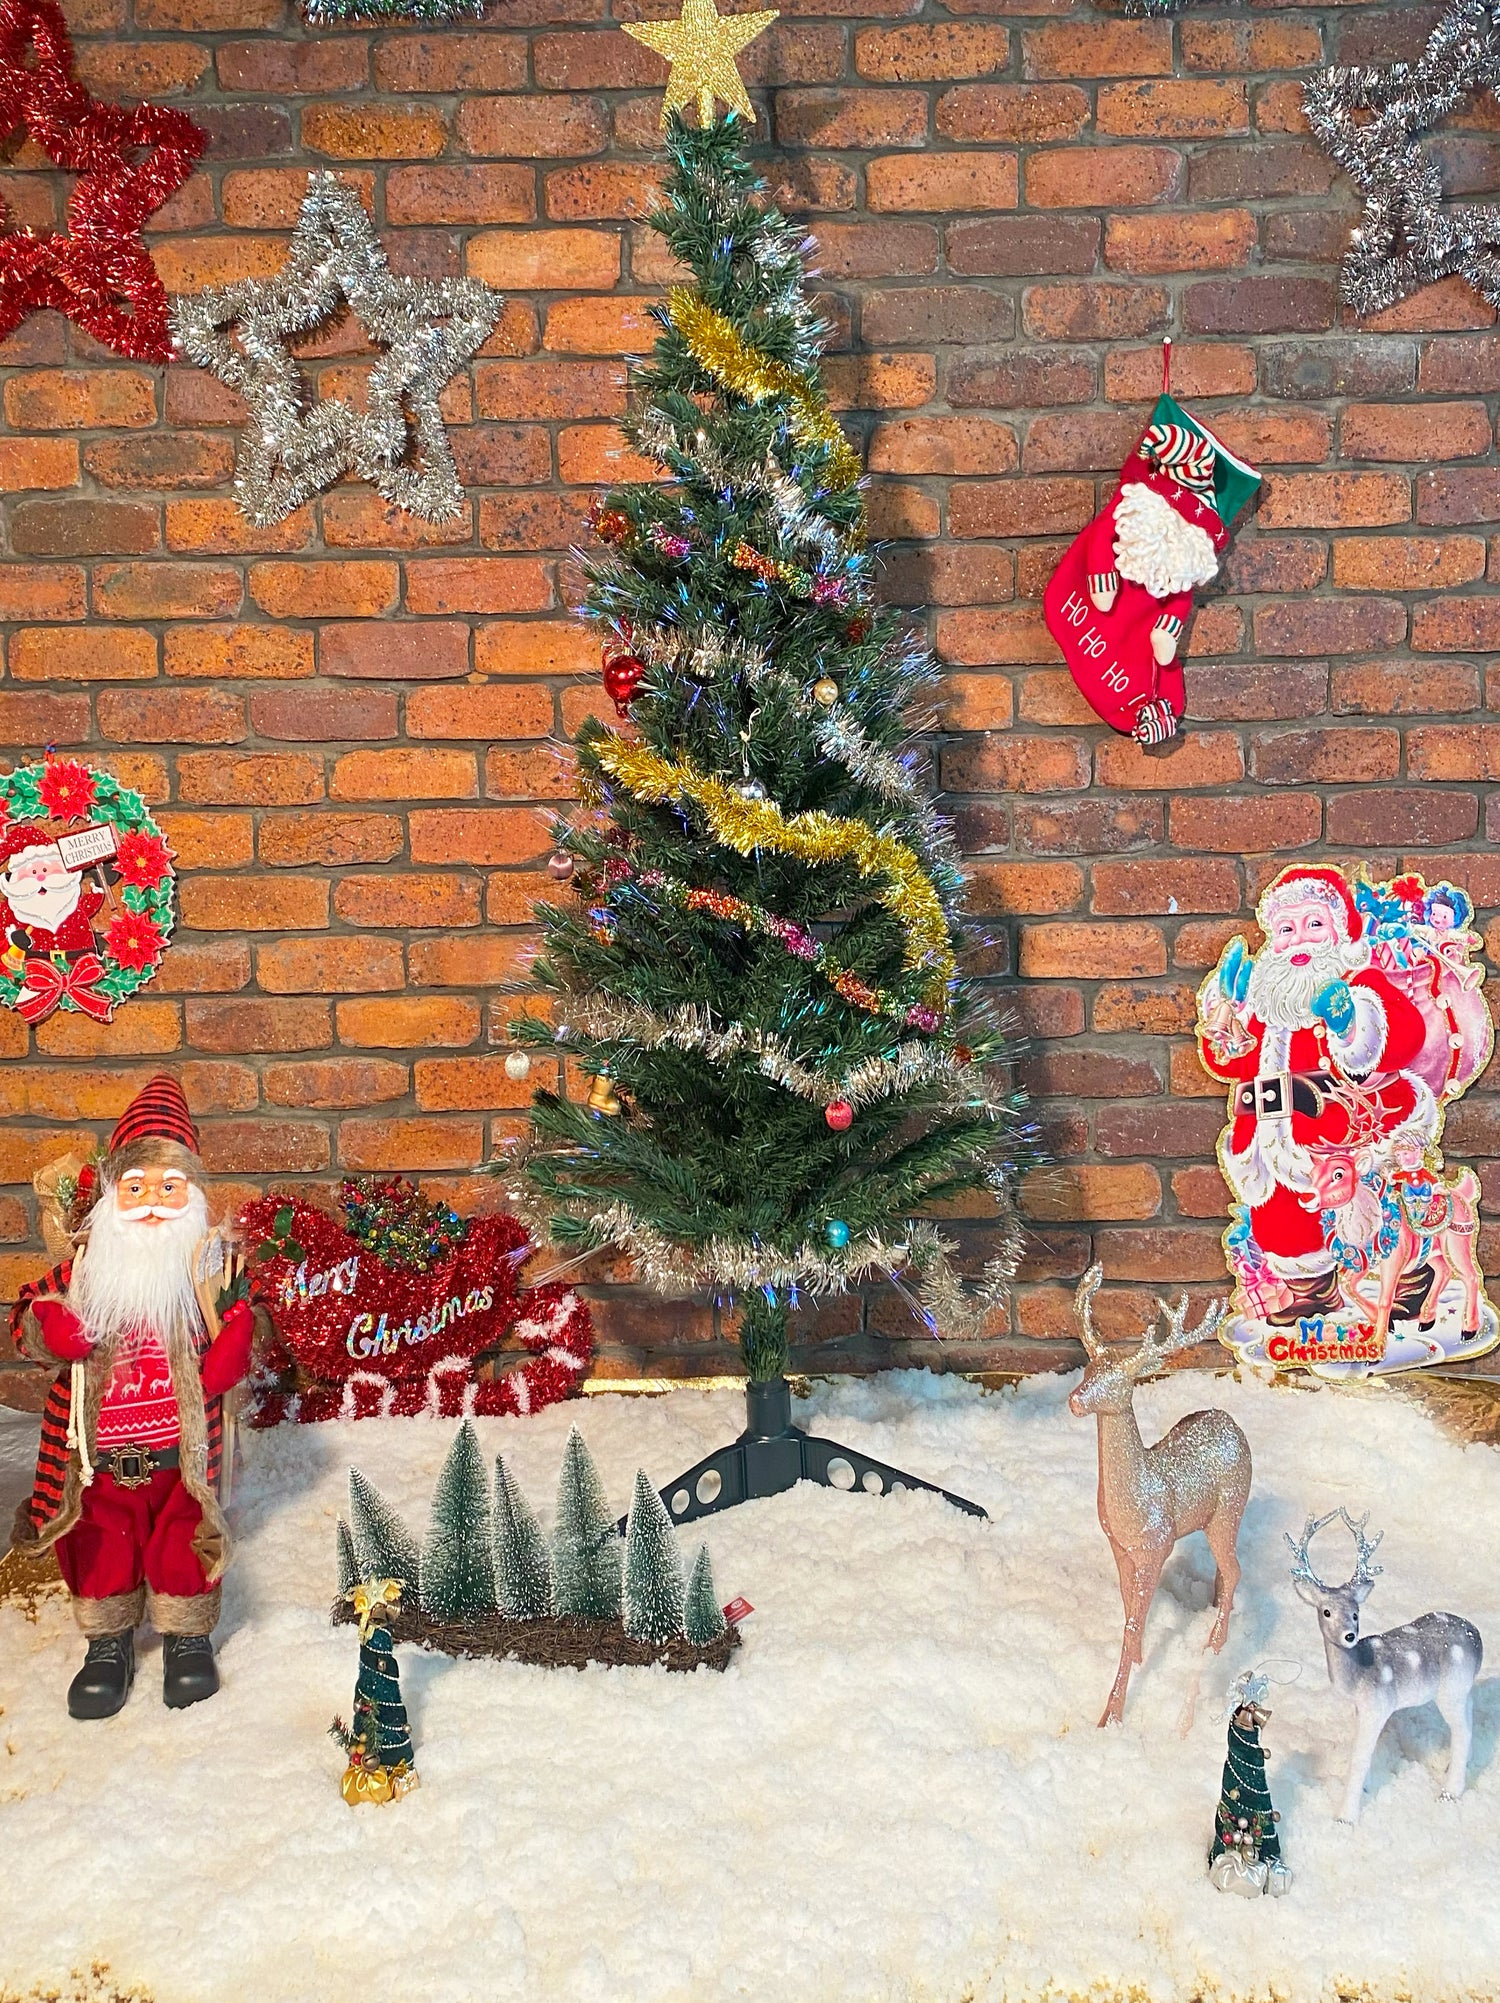
17. Christmas Decorating
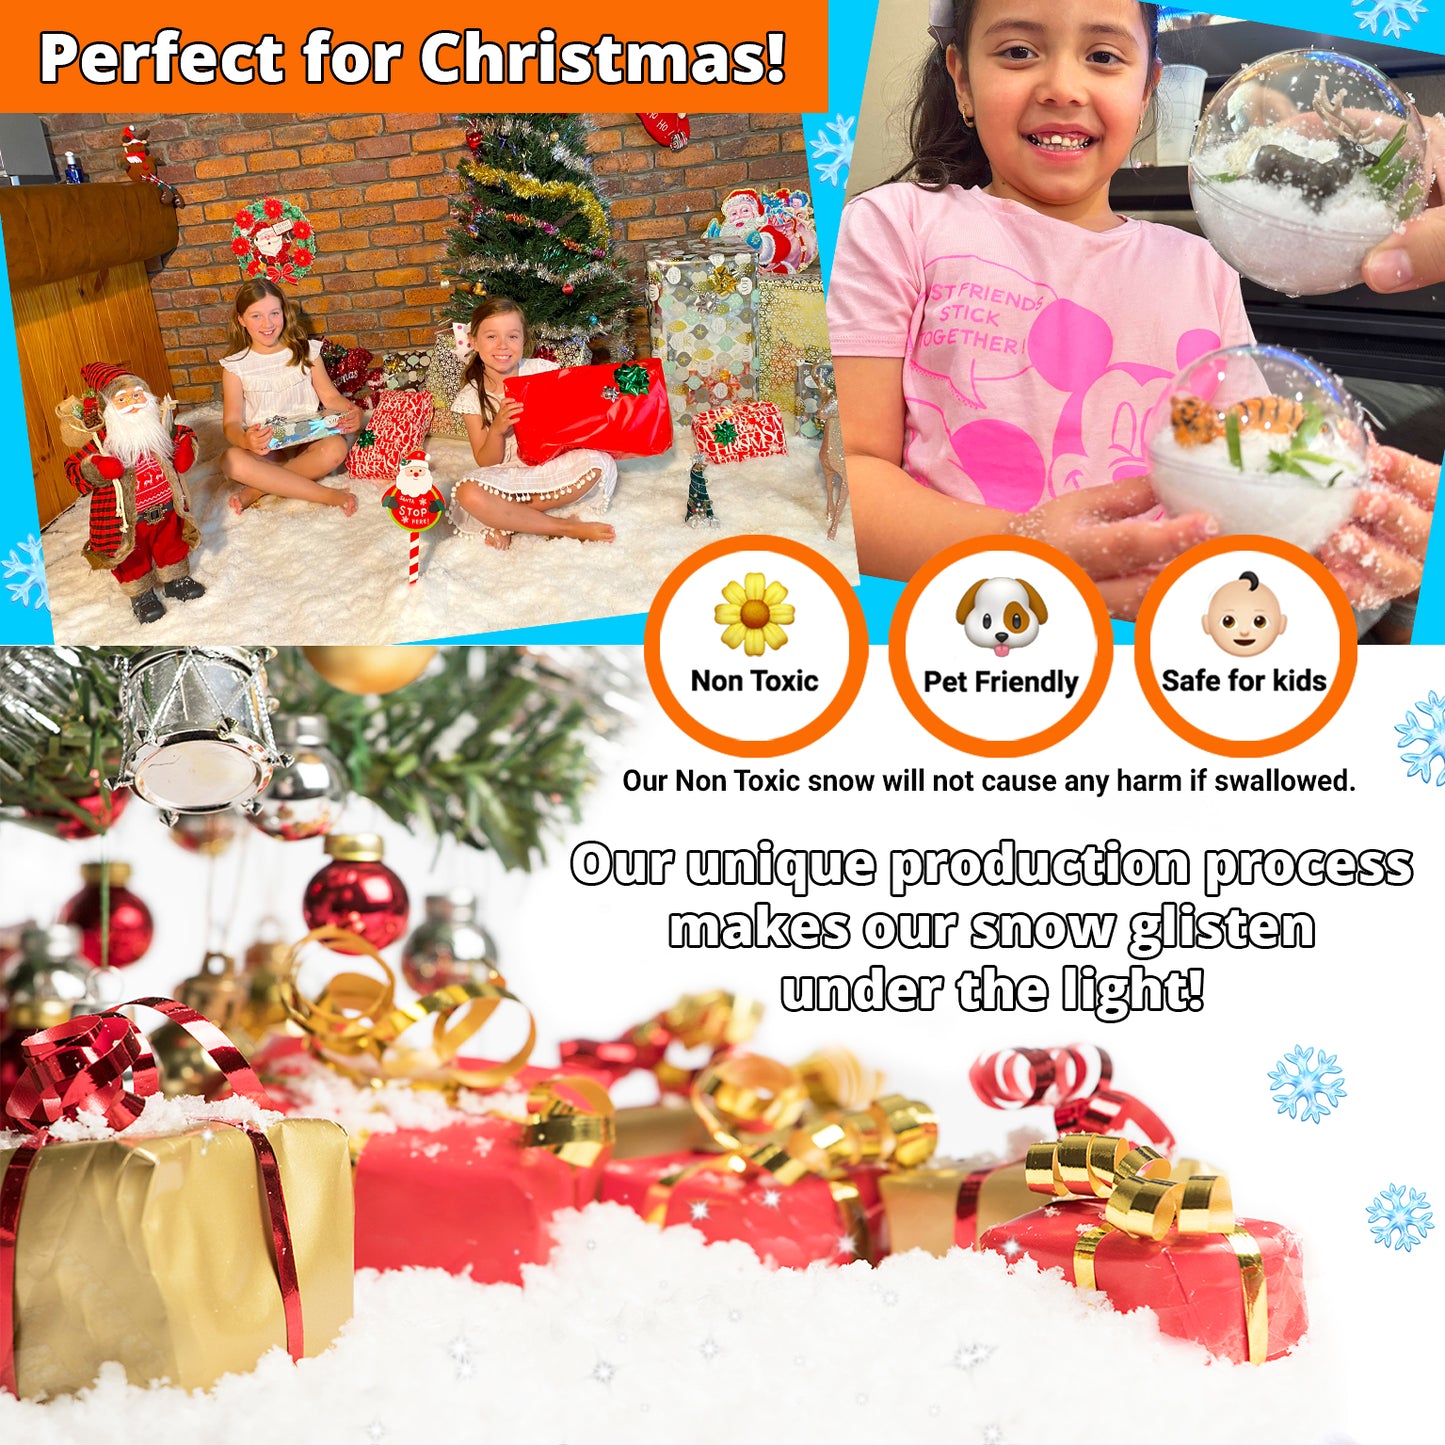
- Instant Snow can be used to make all sorts of winter themed holiday decorations.
- Lay Instant Snow on a tarp underneath your Christmas tree to bring some winter magic inside your home.
- Create a miniature Christmas village or diorama with a snow covered landscape.
- Add snow to glass jars and then insert Christmas themed figurines, decorations, or toys.
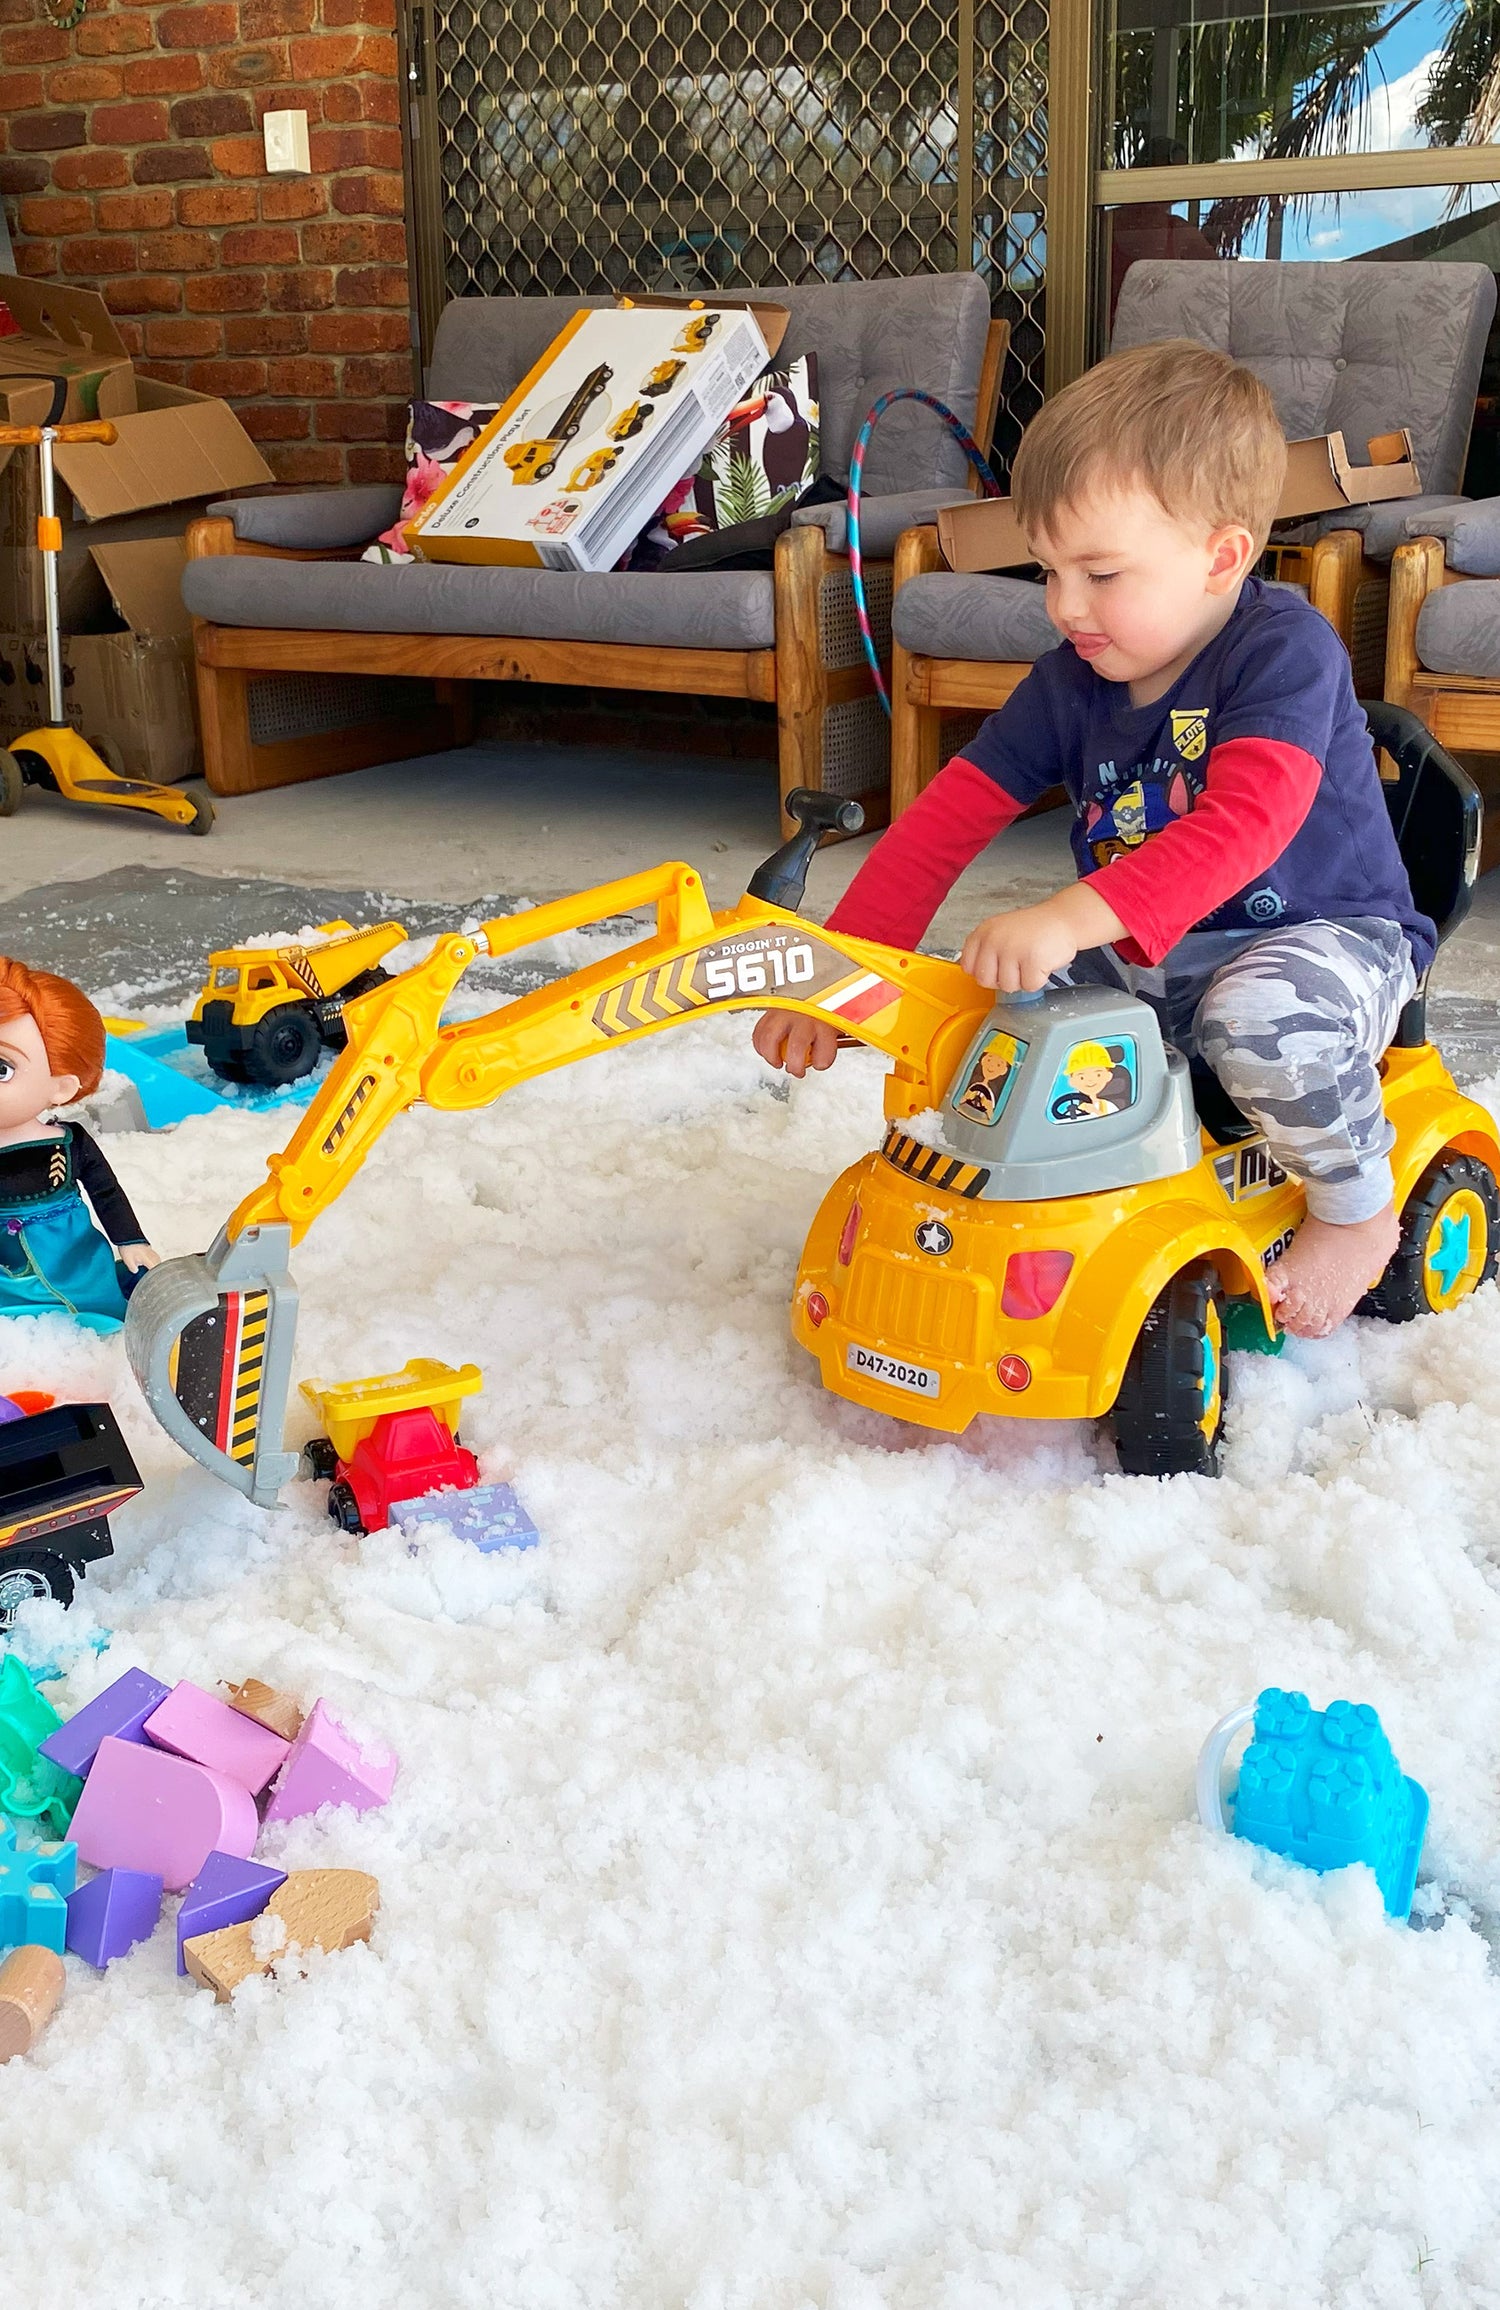
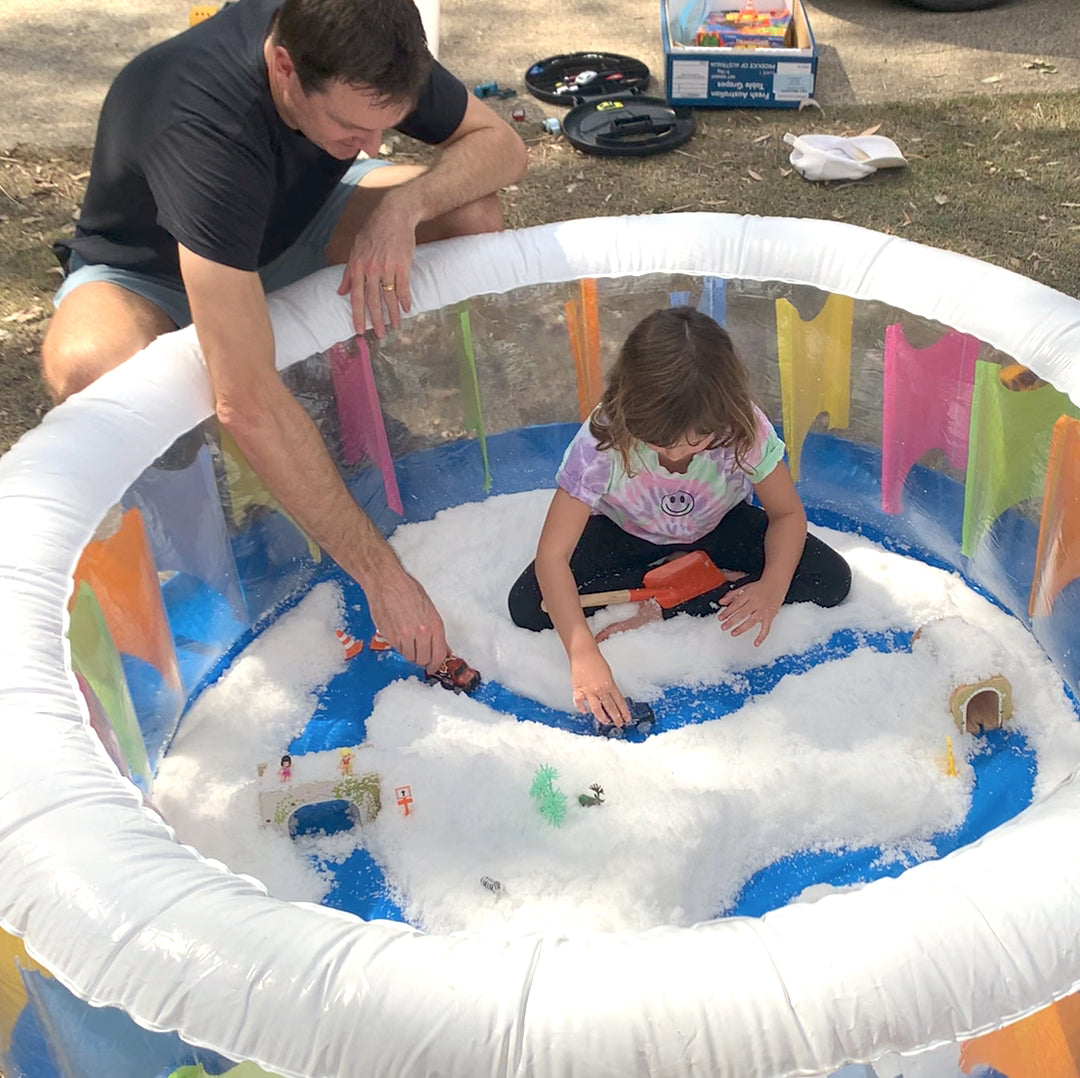
18. Snow Construction Site
- Bring the snow outside on a large tarp or inflatable pool.
- Add all your kids favorite building vehicles and toys such as diggers, dump trucks, front loaders, excavators and bulldozers.
- Kids will love having bulk snow to move around with their construction toys.
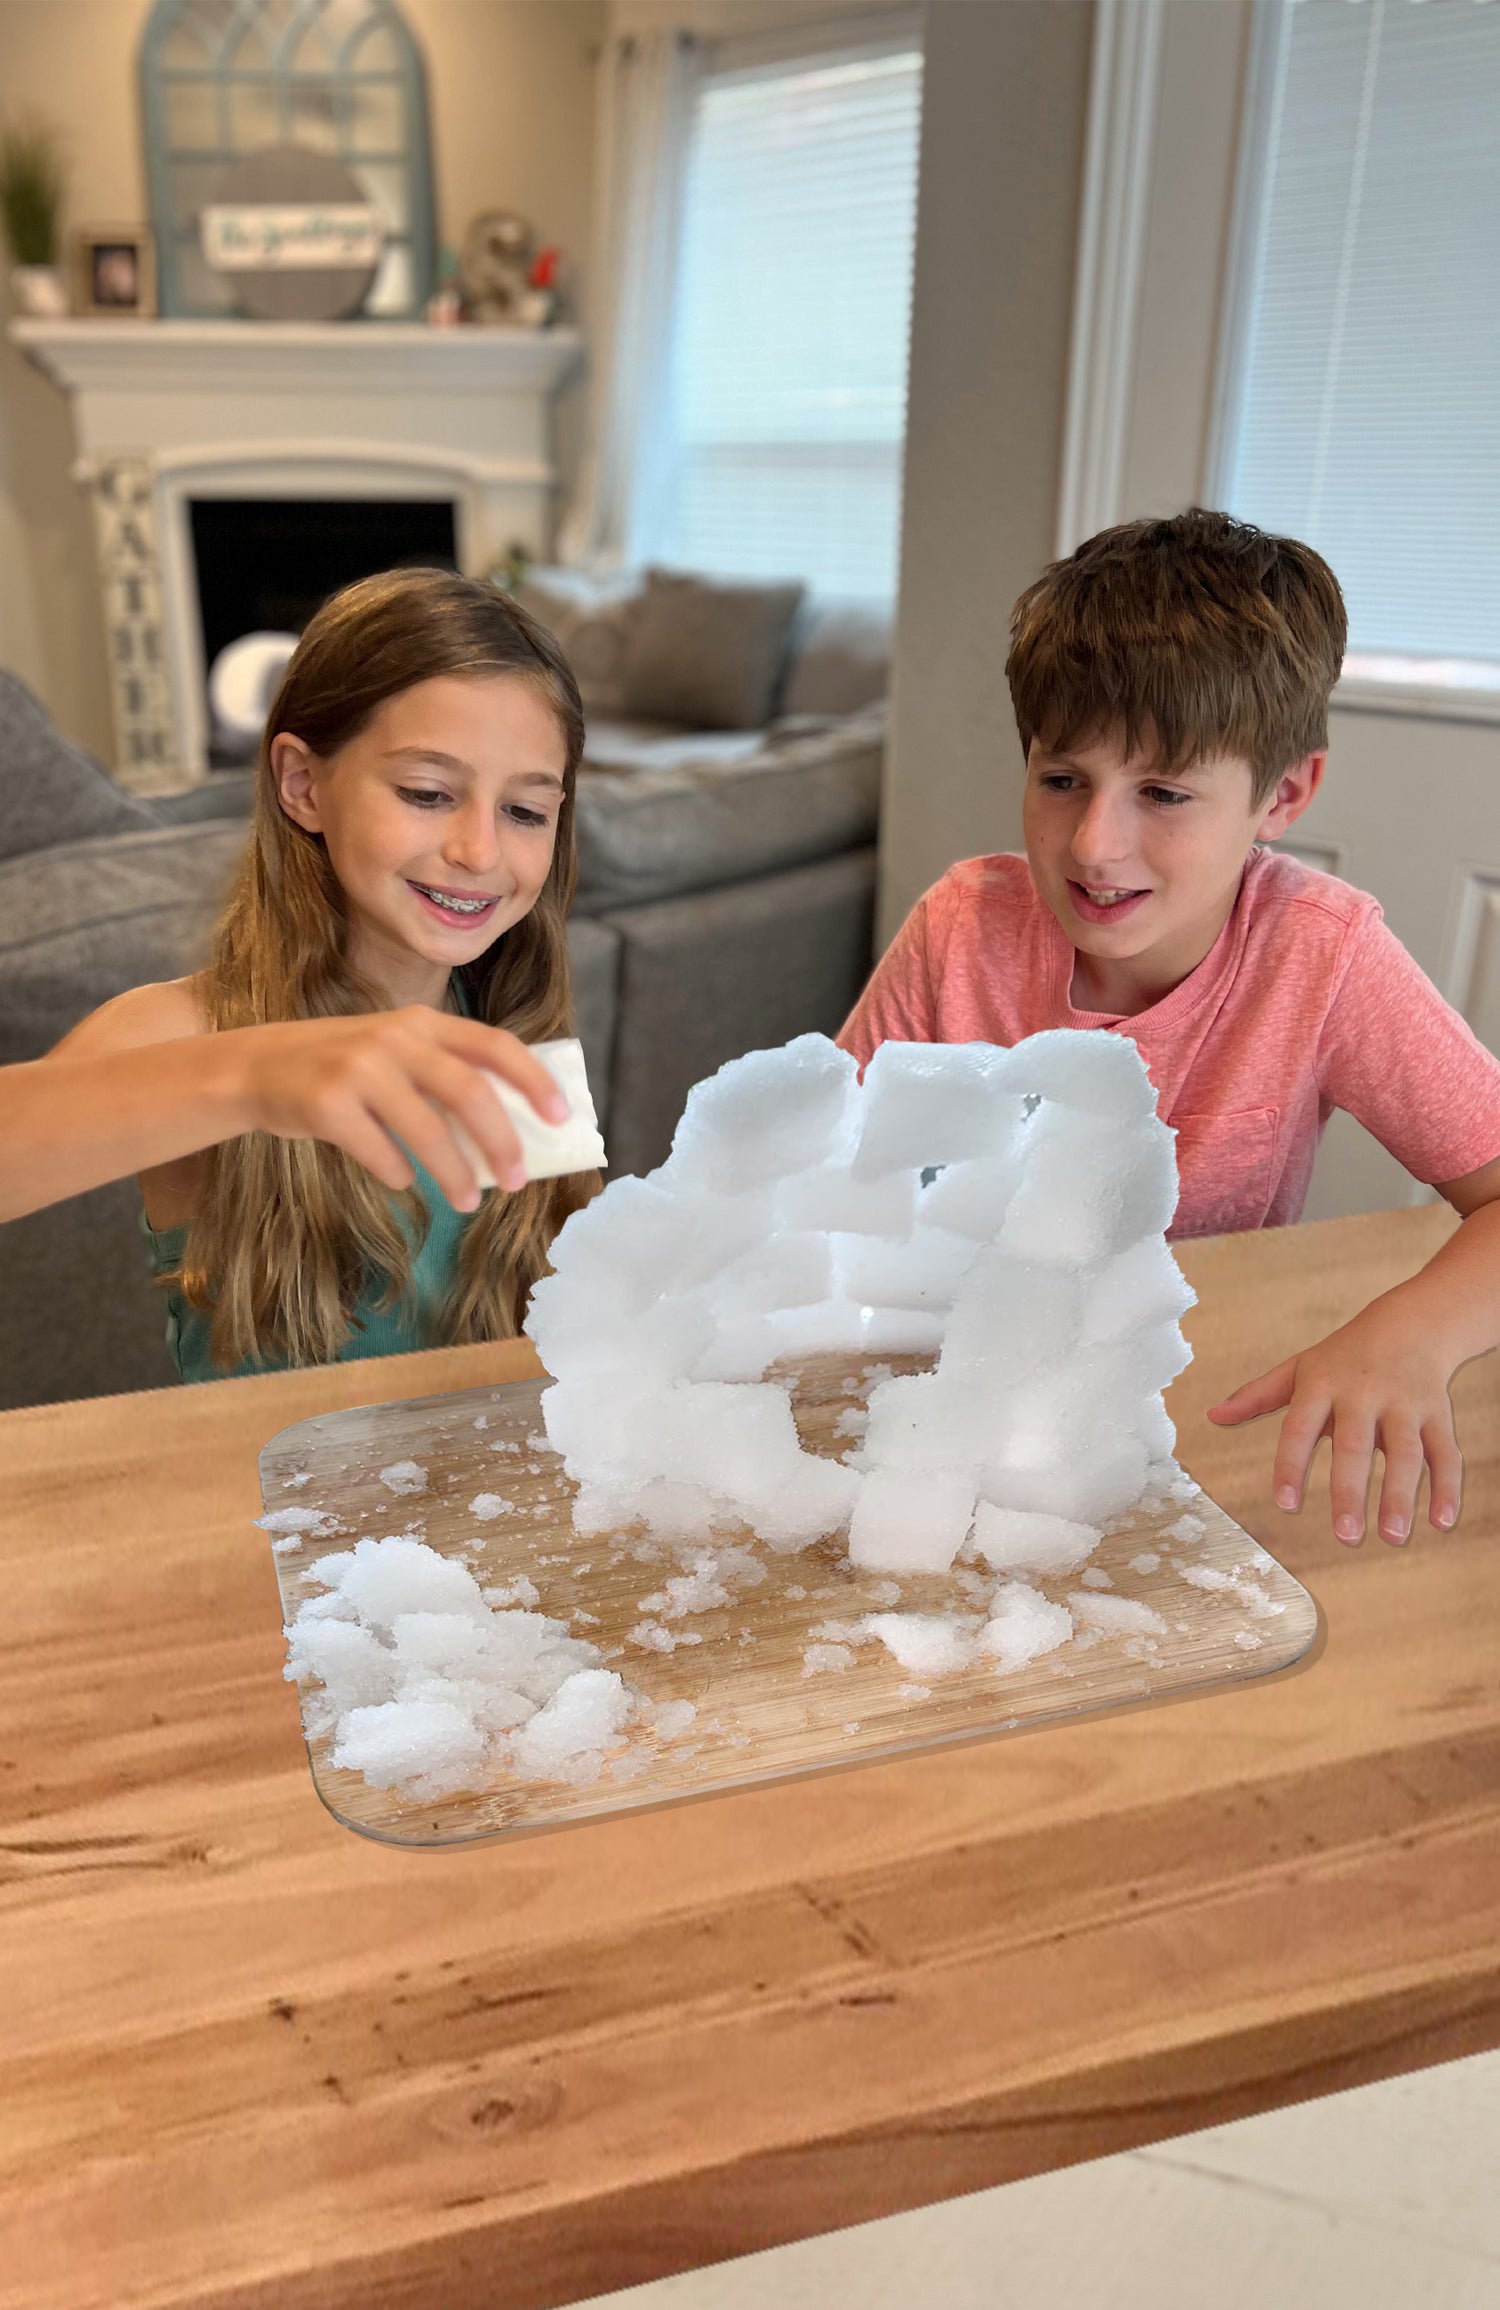
19. Build an Igloo
- Freeze Instant Snow into blocks by filling large ice cube trays with Instant Snow and leaving them in the Freezer overnight.
- Or fill large thin plastic containers with Instant Snow and freeze them.
- Have an adult chop the snow into rectangular cubes that can be used for construction (if it is too hard to chop you may need to let it thaw a little bit before cutting).
- Use the frozen blocks and attempt to build your own miniature igloo.
Fun Fact: Igloos, traditional Inuit snow houses, are constructed by carving blocks of snow into a curved dome shape, utilizing the insulating properties of snow to provide warmth inside despite the freezing temperatures outside.
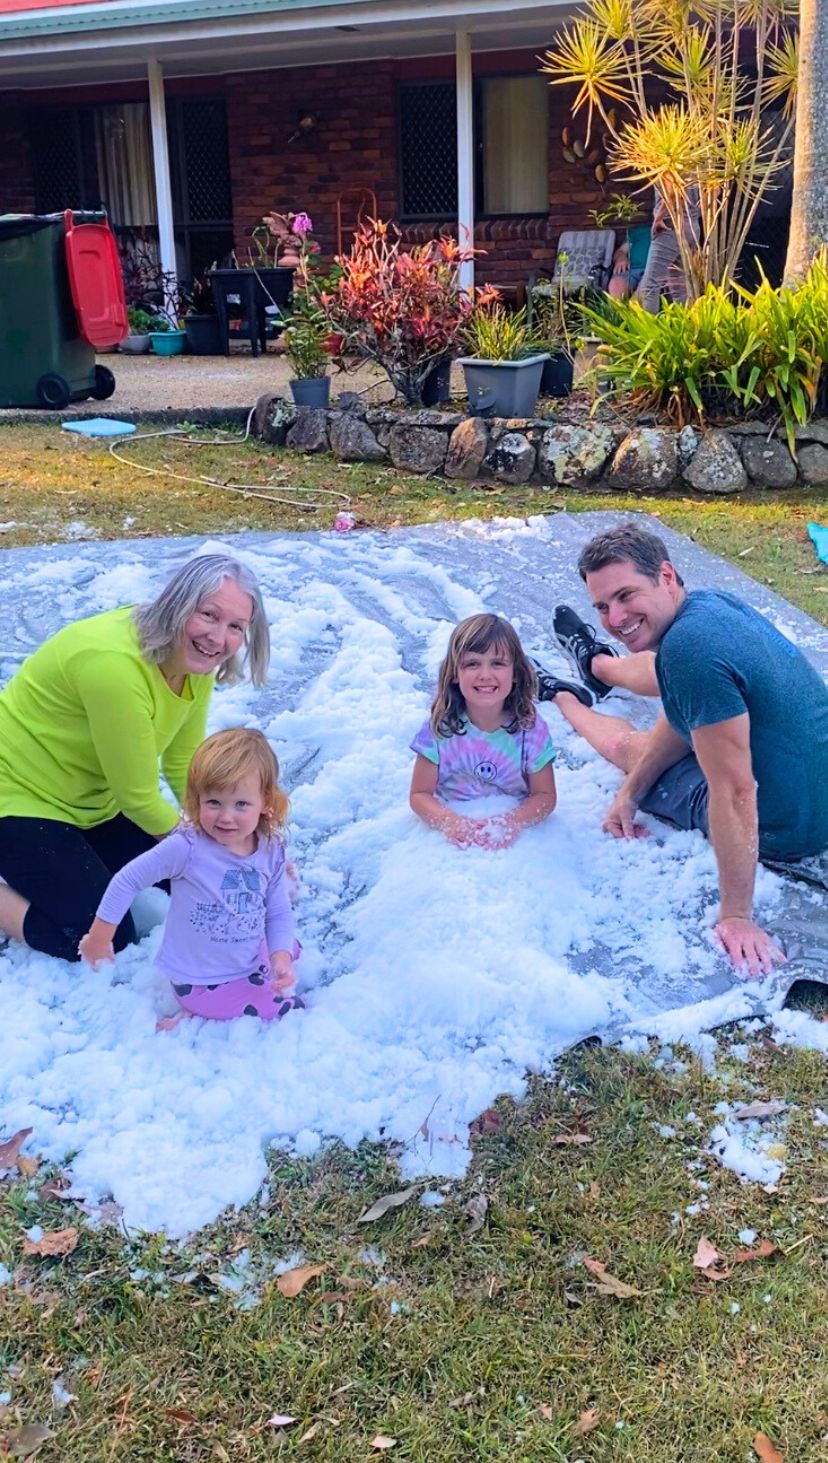
20. Turn yourself into a Snow Mermaid
- Bury your legs in snow to turn yourself into a snow mermaid.
- Get help from your friends and family to shape the snow near your feet into a mermaid's tail.
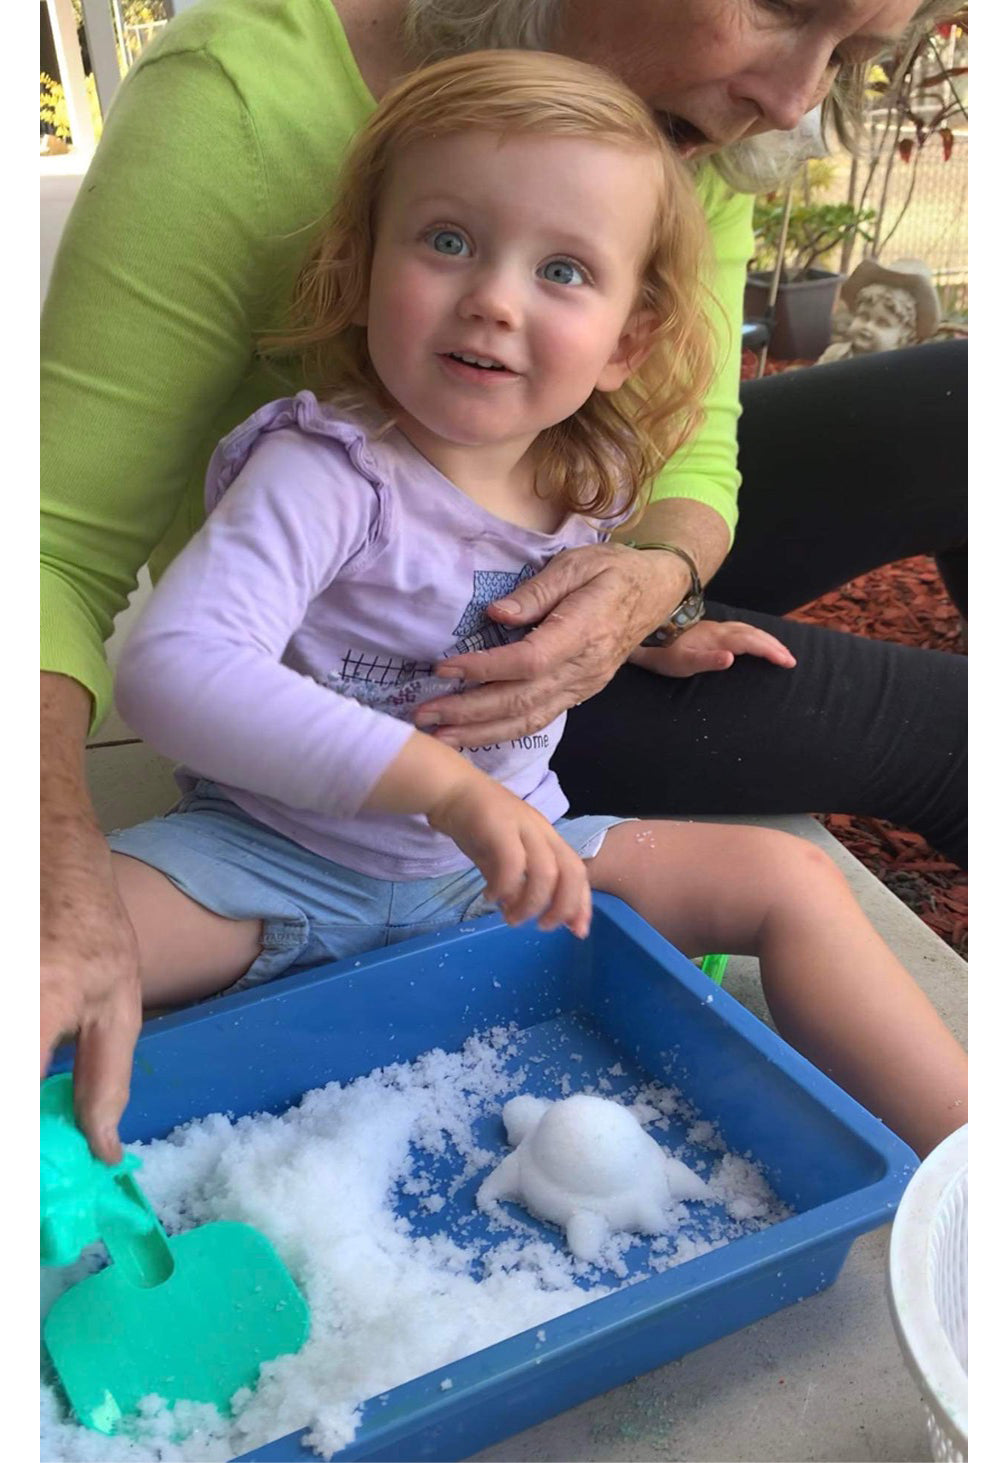
21. Make Snow Sculptures
- Use sand castle molds and buckets to make molded shapes in the snow.
- Compact the snow into the mold and then lift the mold up to see the snow sculpture underneath.
- Snow sculptures can come in all shapes and sizes, from animals to castles, and they show just how creative we can be with the fluffy stuff!
Fun Fact: Did you know that the biggest snow sculpture ever made was over 122 feet tall? That's as tall as a 12-story building! It was created in the city of Harbin, China, and it took a team of talented artists and builders to shape it.
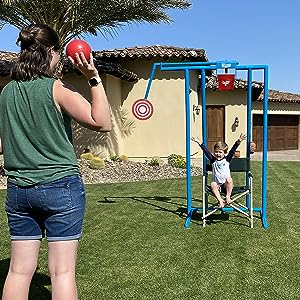
22. Avalanche Snow Bucket Dump Fundraiser
- For this activity you will need a Spash Tower or other brand of Dumping Bucket device (see image).
- Rather than filling the bucket with water, try filling it with Party GOAT Snow instead.
- If someone hits the target it will cause an avalanche of snow onto the person sitting in the chair below.
- This can be a fun fundraising activity for winter carnivals when it is too cold for water.
- Charge participants $1 a throw to try and make it rain snow on a volunteer (usually a teacher, boss, or sports coach etc).
23. Snowball Toss and Catch
- Objective: To see how far apart teams of two can get without losing all the snow from their snowball.
- Form teams of two. Each team should make a nicely compacted snowball.
- Stand facing your teammate, starting at a close distance.
- Teammates gently toss the snowball back and forth to each other.
- Use gentle throws and catches to avoid your snowball breaking apart.
- After a successful catch, the catching player takes a step backwards.
- Be sure to compact the snowball again before each throw.
- Repeat the toss-catch-step-back process.
- After each round your snowball may lose a little bit of snow and gradually get smaller and smaller.
- See how far apart you can get before your team drops the snowball or loses all of the snow.
- Winning: The team that gets the farthest apart without losing all the snow wins.
Science Experiments with Instant Snow
What is Instant Snow?
Our Instant Snow is made from a potassium polyacrylate copolymer. It is a superabsorbent polymer that has an exceptional ability to absorb and retain large amounts of water. When water is added to potassium polyacrylate, the polymer chains expand and swell as they absorb the water molecules.
This expansion occurs because the polymer chains are designed to attract and hold water within their structure, forming a gel-like substance. The absorbed water forms hydrogen bonds with the polymer chains, causing them to stretch and expand. As a result, the once-dry potassium polyacrylate transforms into a fluffy and snow-like texture.
The science behind this reaction showcases the remarkable ways in which materials can interact with water on a molecular level, leading to visually captivating transformations.
24. Temperature Experiments
- Explore how temperature impacts Instant Snow's expansion and contraction.
- Add an equal amount of Instant Snow Powder to two different containers.
- Add ice cold water to one container and warm or hot water to the other container.
Teaching point: Temperature can affect the absorbency of potassium polyacrylate. Generally, the absorbency of potassium polyacrylate increases as the temperature of the surrounding environment increases. This is because the absorption of water by the polymer is an exothermic process, meaning that it releases heat. As the temperature increases, more heat is generated, which can help to drive the absorption reaction forward and increase the amount of water that is absorbed. However, it's worth noting that there are limits to this effect. At extremely high temperatures, the polymer may start to break down, which can reduce its absorbency. Additionally, the pH of the solution can also affect the absorbency of the polymer, so it's important to consider all relevant factors when using potassium polyacrylate.
25. Instant Snow and Plant Growth:
- Set up two small pots with soil.
- In one pot, mix a small amount of Instant Snow with the soil before planting a seed.
- Plant a seed in the other pot without adding instant snow.
- Observe and compare the growth of the plants over time.
- Discuss the impact of Instant Snow on soil moisture and its potential effects on plant growth.
Teaching point: By comparing the growth of seeds planted with and without Instant Snow-enhanced soil, students will discover how this superabsorbent polymer influences soil moisture levels and its potential implications for plant development. Through observation and analysis, delve into the fascinating relationship between water absorption and the plant growth process.
26. Instant Snow Osmosis
- Explore what happens to the Instant Snow when salt is added.
- Add a teaspoon of salt to a cup of Instant Snow, mix it in and observe the reaction.
- The salt will cause the water to be released from the super absorbent polymer.
- Time how long it takes for the snow to return to a liquid state.
- Try adding different amounts of salt to other cups of snow to see if it affects the rate.
Teaching Point: Adding salt to instant snow made from super absorbent polymers causes the breakdown of the snow through osmosis.
When salt is introduced, it creates a higher concentration of solute particles in a salt solution compared to inside the polymer. As a result, water molecules within the polymer move towards the salt solution, leading to the release of water from the polymer structure. This causes the instant snow to lose its fluffy texture and return to a more liquid state, showcasing the osmotic movement of water.
More fun activities
We hope you have had a ball playing with Instant Snow. Don't forget to share your photos and videos with us on social media or at sales@partygoat.com for the chance to win prizes.
Want more outdoor games and activities. Try Instant Slime!
-
BULK INSTANT SLIME (Makes 25 Gallons - 95L)
50 reviewsRegular price $32.99 CADRegular priceUnit price / per -
INSTANT SLIME BATTLE PACK! (Blue, Yellow, Pink & Green)
87 reviewsRegular price $47.99 CADRegular priceUnit price / per -
COLOR RUN SLIME: 6 Colors for Epic Slime Fun Runs (60 Gallons)
65 reviewsRegular price $86.00 CADRegular priceUnit price / per$105.00 CADSale price $86.00 CADSold out


